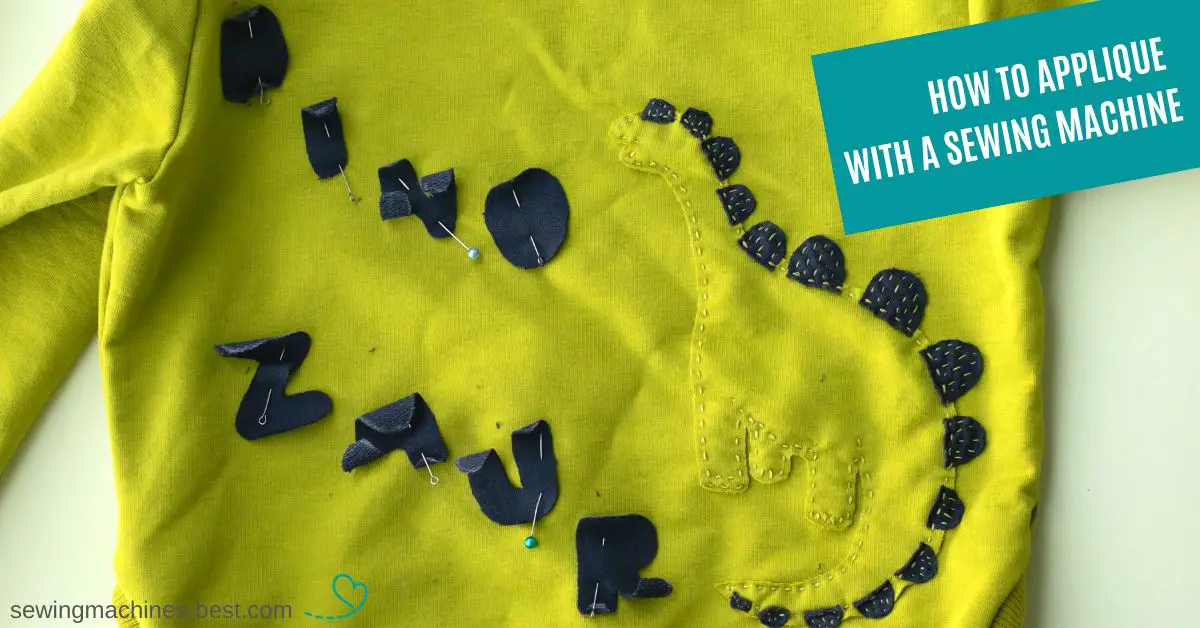
Looking for a way to add some color to your old jeans? Or maybe you want to add a few letters to a simple household item? Why not try applique?
Applique is not only fun and easy it also allows you to create almost any shape you like.
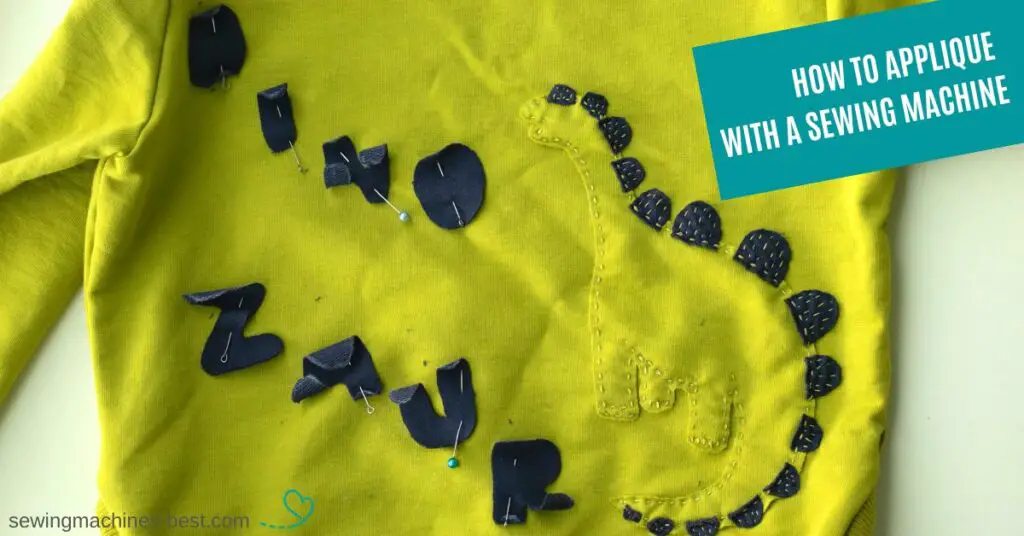
In this article, I’ll share with you tips, tricks, and recommendations that will help you on your journey to making machine applique. We’ll learn how to applique – we will go over several different applique techniques and you can decide which one works best for you!
And now let’s jump right into it!
Contents
- 1 How to applique by machine?
- 2 Hand applique vs machine applique
- 3 Conclusion
- 4 FAQ
How to applique by machine?
In this article, you’ll learn five machine applique techniques: Raw Edge Applique, Fusible Web Applique, Reverse Applique, Interfacing Applique and Satin Stitch Applique. And then it’s actually just a case of deciding which one you like best.
Raw Edge Applique tutorial
Raw Edge Applique is one of the most simple applique techniques. Raw edge applique is a great method for making a quick project.
For Raw Edge Applique, you just need a few supplies to get started, such as: scraps of cotton fabric (or other fabrics), paper, a template or pattern, pins, thread, pencil, fabric scissors and maybe you’ll decide to use glue to hold that down. I like to starch the fabric so that it is easier to work with it and it does not fray, but this is not necessary.
Step 1. Cut out your pattern
I recommend printing them on card stock for easy tracing.
Step 2. Cut out the applique pieces
1. Trance around your template on the wrong side of the fabric.
2. Cut out the applique shape on the line.

Step 3. Place your applique pieces on the background fabric
Attach applique pieces with pins to the right side of the background fabric. If you find the pins get in your way, you might use a washable glue stick. Just put the glue on the back of your applique pieces. It doesn’t have to be a whole lot and then put some on the background fabric. Line up your applique pieces and press and now you’re ready to stitch.
Step 4. Stitch edges of the applique pieces with a straight stitch
1. Start stitching about an eighth of an inch away from the edge of the applique, but that’s up to you, you can stitch in closer.
2. When you get to the curve, put your needle down and lift the presser foot. The reason why you should always do this is if you continue just stitching, often this fabric on top starts pulling and it gets all bunched up, so it’s better to go slowly.
3. When you’ve traveled all the way around the applique shape, lock those stitches by backstitching.
Disadvantage of the raw edge applique method
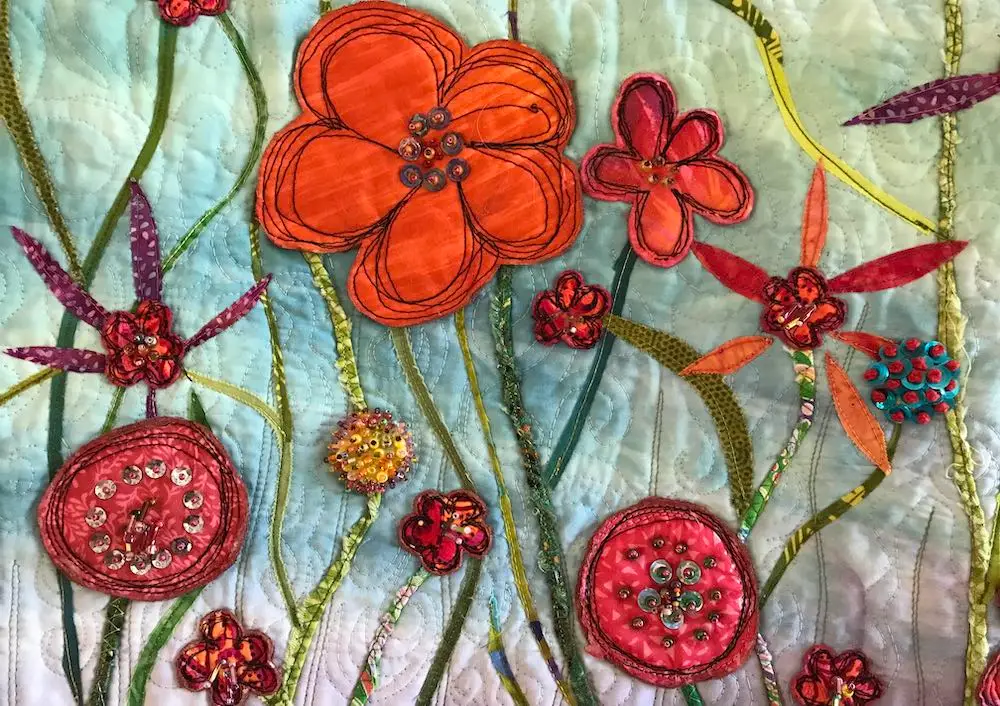
I also want to add a word of caution about the Raw Edge Applique method. If you wash this applique, the edges will fray. So the more it’s handled the more fraying you’ll get.
So you need to use different applique techniques if you don’t want them to fray.
Fusible Web Applique tutorial
The Fusible Web Applique method might look like Raw Edge Applique method, but with fusible edges. Fusible Web Applique is pretty quick and easy.
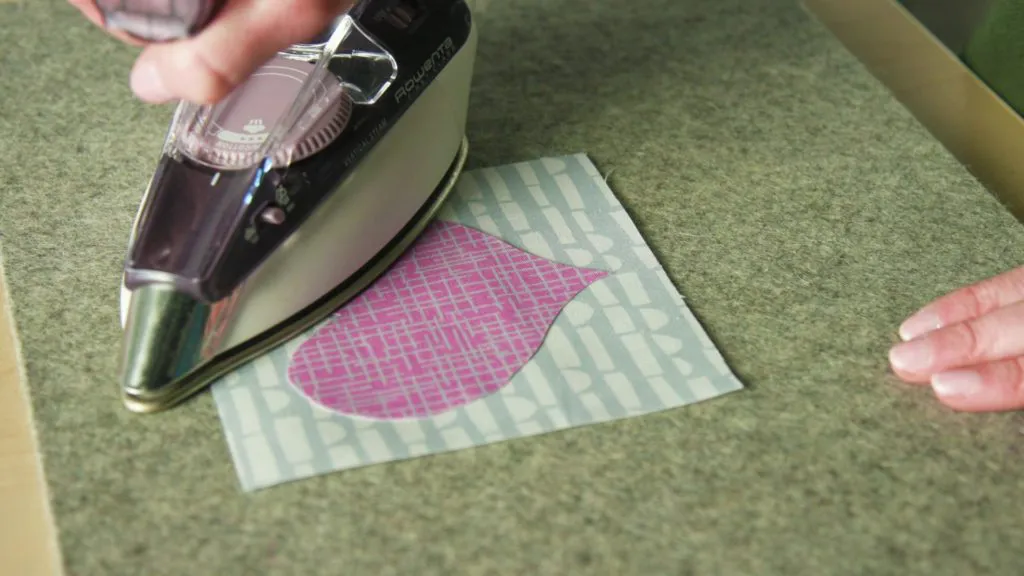
Fusible Web Applique requires a few supplies, such as fabric, paper, a fabric pencil, thread, fabric scissors and embroidery scissors for the small parts or to cut thread. You’ll also need to buy a double-sided lightweight fusible.
Step 1. Cut out your template
Transfer your paper pattern onto cardboard. It’s okay to just use paper, but cardboard might be a little bit easier.
Step 2. Transfer the fusible to the back of your fabric for applique pieces
1. This double-sided lightweight fusible has a glue side and a paper side. Place the pattern on the paper side of the adhesive side and trace around it using a pencil. Cut out roughly.
Don’t cut at the line – leave a little extra. I like to cut about an eighth of an inch, it doesn’t have to be perfect, I just need a little extra there.
2. Place the glue side of the double-sided lightweight fusible down on the back side of the applique fabric and press with an iron. Remember to read your manufacturer’s instructions on your double-sided lightweight fusible.
3. Cut out the applique on the traced line.
4. Remove the paper backing (this can be tricky – if you can’t find an edge to start peeling, use a pointed object to tear the paper and then peel from there).
Tip: Instead of transferring the pattern to the adhesive side with the cut-out template, you can directly use the printed paper as a template:
1. Print out the pattern on regular paper and roughly cut out your template.
2. Spray glue the template to the paper side of the adhesive side and rough cut it out again.
3. Iron to the wrong side of the fabric, following the manufacturer’s instructions.
4. Cut out the applique on the line.
Step 3. Place your applique pieces on the right side of the background fabric
Sticky side down and iron on firmly, following the manufacturer’s instructions.
Step 4. Stitch around the applique shape
If you decide to stitch around the applique, remember to slow down around the curves and don’t forget you’ll want to move your fabric every couple of stitches with the needle down and your presser foot up. This will help keep your applique from lifting up as you sew.
More
I hope you’ll try the Fusible Web Applique technique. It’s a little more time-consuming than the Raw Edge Applique, but I think you’ll like your results.
Reverse Applique using a sewing machine: step-by-step tutorial
Reverse Applique is a complex applique method. For Reverse Applique, the applique shape is cut out of the background fabric and is applied over the top of the applique fabric.

To make a Reverse Applique, it is better to practice in advance on individual pieces of fabric or unnecessary clothes, and then proceed to the decoration of the sewing project.
Step 1.
Transfer the pattern onto the right side of the background fabric using an erasable marking pen.
Step 2.
Carefully cut out the applique shape along the traced lines using a rotary cutter or fabric scissors and embroidery scissors for the small parts.
Step 3.
Place the templates on the wrong side of the applique fabric and trace around it using an erasable marking pen. Cut out roughly.
Step 4.
Clue the applique pieces to the wrong side of the background fabric using a fabric glue stick. Make sure to cover the cutouts.
Step 5.
Sew the edges of the applique with a zig-zag or straight stitch, stopping at your beginning point.
Step 6.
Iron off the tracing lines.
Interfacing Applique using a sewing machine: step-by-step tutorial
Step 1.
Place the motif on the non-adhesive side of the fusible interfacing and trace around it using an erasable marking pen.
Step 2.
Pin it to the right side of the fabric, adhesive down.
Step 3.
Stitch directly on the applique shape, back stitching when you start and stop to secure.
Step 4.
Trim excess fabric close to the stitching line.
Step 5.
Pull the interfacing apart from the fabric and make a cross cut with your fabric scissors.
Step 6.
Turn the applique right side out and carefully push out the curves and points using the turning tool.
Step 7.
Place your applique on the face side of the background fabric, adhesive side down and iron on.
Step 8.
Stitch the edge of the applique pieces with a straight stitch, stopping at your beginning point.
Satin Stitching tutorial
In this tutorial, we’ll take a closer look at applique using Satin Stitching. You can use this great method to make faux catches, or you can use it in a much more complicated manner.
Some of the items that you may be needing for this project, aside from design: wonder under, fusible tearaway stabilizer, and heat.
Step 1.
Take the material in the design that you want to attach to it. Pull out that fusible tearaway stabilizer and cut out a section bigger than your design. This material helps hold the item in place and stabilize the fabric while stitching.
Step 2.
This step is completely optional, but it is highly recommended, as it will help keep the design in place even without the use of a stabilizer. You can use wonder under. I prefer wonder under, as it’s a thinner adhesive and it doesn’t affect the drape of the fabric. Cut to the design of your wonder under exactly the same as your fabric, making sure that the adhesive side is against the backside of your design.
Step 3.
Take the 1/2 under and attach it using your iron, making sure you attach the wonder under to the backside of your design. Once it is attached, you can pull away the paper backing. If you find any residual adhesive, feel free to tear that away. Next, just place it right onto your fabric and use your iron to attach it. Now you can attach the stabilizer also using your iron.
Step 4.
Set the sewing machine settings: the presser foot should be set by default or something such as 5; the tension should be set by default or something that is even between the top thread and low thread, such as 5; the type of stitch is a zig-zag stitch, or your machine has a satin stitch, feel free to use this option as well, the length of the stitch is going to be 1, and the width is doing to be determined how wide you want the stitch to be. Now, you are ready to sew.
Step 5.
Set in your design underneath the machine, starting in a corner as best, and make sure the center part of your foot lines up with the edge of your design. Lower the foot down and begin sewing.
When you get to a corner, stop and put your needle down into the fabric on the edge, pivot the fabric around the needle, begin sewing again, and make sure that the center of the foot lines up with the edge of a design once again.
When going to run a quarter greater than 90 degrees, you’re going to want to treat it very similar to the 90-degree angle, stop the kneel on the outside edge of the design, pivot around, and then make sure that it lines up again with the center of the foot to the edge of the design and continue sewing.
When you come to an angle that is less than 90 degrees, instead of leaving your needle on the outside of the design, leave it on the inside of the design and use that point as your pivoting point. Sometimes you’re gonna have to walk the machine to get it to the precise angle, but go ahead and lower that needle into your fabric, adjust if necessary, pivot, and see if it lines up.
If it doesn’t line up as it did there, go ahead and walk your machine by turning the hand crank a few times or using the paddle stitch a few more stitches lower that needle on the inside of the design pivot and check again. So now that it matches up with the center of the foot to the edge of the design you can continue sewing.
When you want to go around a curve you’re gonna want to make a few stitches, pivot and then stitch a few more. As you do with an angle that is greater than 90 degrees, leave the needle on the outside of the design and not on the inside of the design, and use that as your pivoting point.
Always ensure that the center of your foot matches up with the edge of the fabric. Generally, if you’re going to be doing a small circle, do about three to four stitches and then pivot larger circles like this you can go for extended amounts of time and then make your pivot.
Step 6.
Remove the tearaway stabilizer. Just tear it away, it should leave no residue or any sticky stuff on your fabric.
Hand applique vs machine applique
You can applique using a machine, and you can do appliques by hand.
Hand applique is a method in which one fabric is used to create a pattern on another fabric. It is made by hand. Hand applique takes a lot of time and requires perfect accuracy.
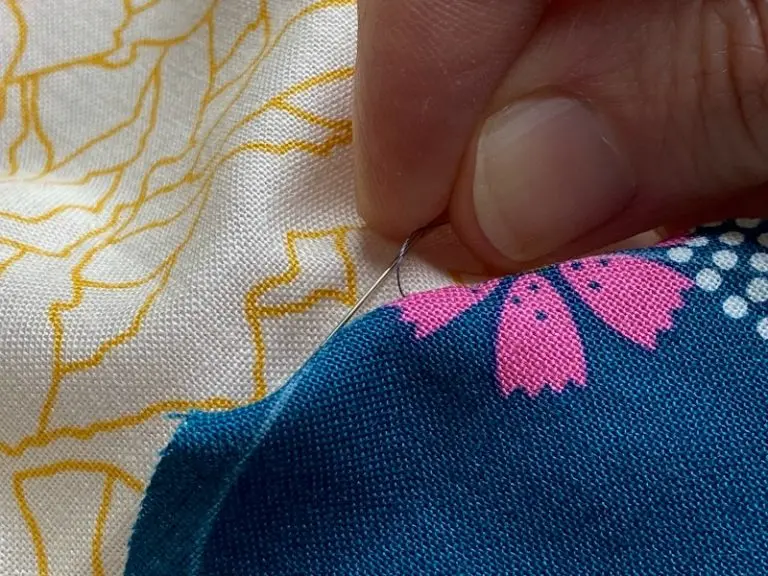
Machine applique is a technique of application that does not require much time and is durable, which means that machine applique is suitable for projects that are often washed.
The advantages and features of machine applique
1. When sewing the applique pieces to the background fabric, it is necessary to place the zig zag stitch as close as possible to the edges of the product. This will help to avoid unevenness and ruffling of the edges.
2. The stitch on the sewing machine turns out to be more even and neat than made by hand. Thanks to this, it is possible to sew smaller details and form a large composition from them.
3. Sewing on a machine is done very quickly, which allows you to create an applique in a short period of time and not spend a lot of effort on them.
Conclusion
Machine applique is one of the most popular types of creativity. It is based on cutting and sewing applique pieces to the background fabric.
The whole process is quite simple but requires certain skills and accuracy from the master. Making such sewing projects, as a rule, takes a minimum amount of time, and the end result can decorate your apartment or clothing item in an original way.
The raw edge applique method is my personal favorite because, in my opinion, it’s the quickest and easy way. And now it’s your turn: what is your favorite method?
Let me know in the comment section below, I would love to hear your thoughts!
If you liked this article share it with your friends.
Thanks so much for reading!
Another way to decorate and embellish fabric or clothes is embroidery. If you want to know how to do it with a sewing machine, read the article: How To Embroider With A Sewing Machine: Start It Right Now!
And if you want to use a patch or sew it on instead of Applique, you can find the instructions here: How To Sew On A Patch In Easy Steps
FAQ
Can I applique on a regular sewing machine?

You don’t need a special machine or tools to do applique. Many regular sewing machines are capable of doing applique and it can create really cool projects.
What sewing machine stitch to use for applique?
Straight stitch
If you are sewing an applique from a material that does not crumble (fleece, felt, wool), you can use the most ordinary straight stitch. Step back a little from the edge, literally 2-3 mm, and carefully walk on the sewing machine to the edge.
If you’re working with a thicker fabric I would recommend stitching with a longer stitch length for a better finish.
Zigzag stitch
Zigzag stitch is available on all, even the simplest sewing machines. It’s great for applique. Zig zag may not be frequent (again, for fabrics that do not crumble) or frequent – for all other cases.
Decorative stitches
Do you want to experiment? Take a closer look at these stitches. They perfectly decorate the sewing project and can turn an ordinary applique into something super extraordinary.
Blanket stitch
The blanket stitch imitates a stitch made by hand and looks like “⎾⏋”. So when you make a lot of blanket stitches side by side, it looks something like this: “⎾⏋⎾⏋⎾⏋⎾⏋⎾⏋⎾⏋⎾⏋”.
In the settings, you can choose the width and length of blanket stitch: the distance between the crossbars in “⎾⏋” and the length of ” ⎺ “. If the fabric is loose, it is better to choose a blanket stitch more often. If the fabric is loose, it is better to choose a more frequent stitch.
Satin stitch
The satin stitch consists of more or less wide, tightly fitting zig zag stitches. A variety of various shapes allows machines to create a huge number of satin stitches. In high-quality satin stitching, the stitches fit snugly together.
When working with thin threads, you need to increase the stitch density by reducing the stitch length. When working with thicker threads, it may be necessary to increase the stitch length so that it does not seem that the machine is slipping.
How do you do applique for beginners?
If you are new to applique, you can start with Raw Edge Applique technique. It’s a method to start, it’s fast and easy.
The only problem is you might have some fraying along the edges. Fusible applique is also quick and easy, the fusible will help keep these edges from fraying, but over time you might end up with ragged edges.
I think both of these are great projects to start with and also for kids, they’re quick and fun.
If you don’t have basic sewing skills, you can make Raw Edge Applique by hand. Hand applique is the way to go, If you are a beginner.
Applique on the fabric is possible even for beginners. It’s not difficult! I recommend choosing fabrics for the applique that do not stretch and keep their shape – it will be easy to work with such materials. Natural cotton of various densities is ideal for making applique.

Hi everyone and welcome to my blog!
My name is Liz, and I started sewing when my son was born. First I repaired the holes in children’s pants, then I dared to do more challenging projects like sewing home decor and children’s clothing. Now it is my hobby where I come to rest, let my creativity run wild, and create things that please me and enhance my home.
I would love to help other sewing beginners and enthusiasts through my blog by sharing tips and tricks for this great hobby.
