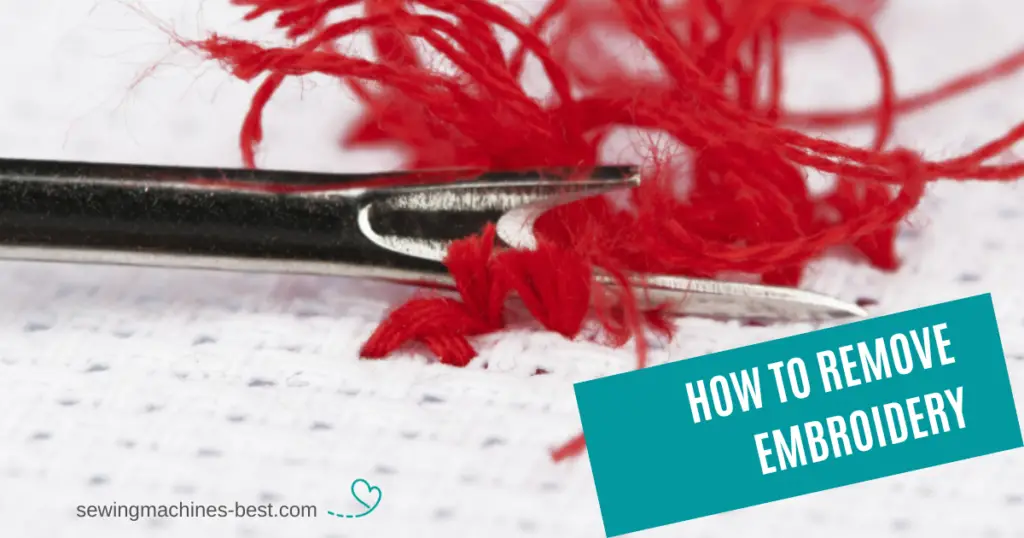
In this article, we’ll go over several different methods of removing embroidery from clothes that you can use when your embroidery projects go wrong.
If you own an embroidery machine, you know you’re bound to make mistakes, and that’s okay. Mistakes happen, but when you make a mistake on a finished garment that is potentially costly, that’s when you get concerned and you want to try to remove those stitches without ruining the garment.
The purpose of this article is to go over the process of removing embroidery from garments using various removal tools and items.
Contents
Method 1. How to remove embroidery using a stitch eraser
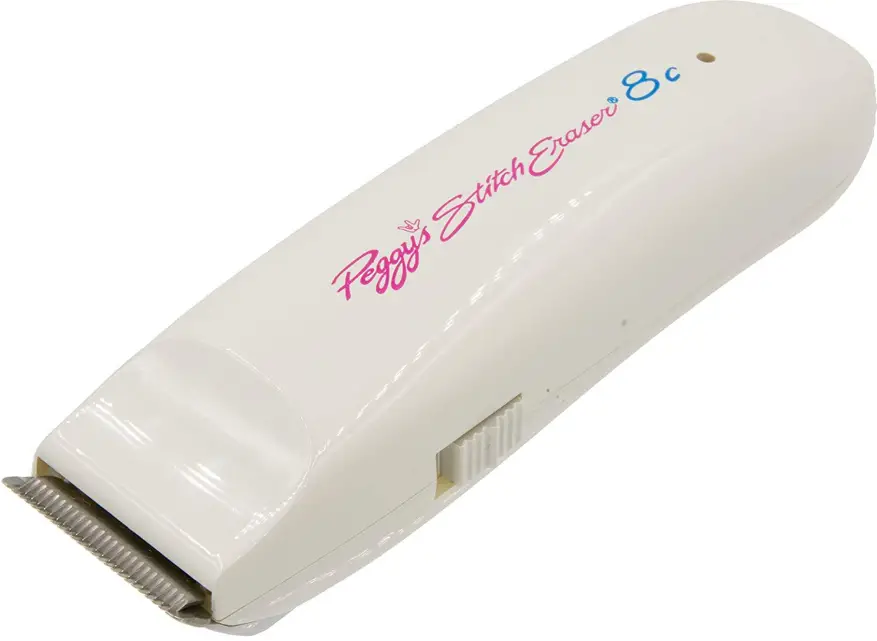
A stitch eraser is one of the removal tools that is used to remove machine embroidery.
When we’re doing machine embroidery, we’ve all encountered a mistake in machine embroidery. So if it’s just one or two stitches, we can use a small tool to take the bobbin out and the stitches out and just redo it.
Sometimes we’ve made a big mistake, we accidentally put in the wrong thread color or just the design was off, we’ve picked the wrong design and it’s just stitched out maybe the wrong size, and we have a big mess up to erase and what we use is a PEGGY stitch eraser.
This tool looks like a hair trimmer, but it is not a hair trimmer. It looks exactly like one, it essentially performs exactly like one, but its mechanics are just a little bit different where the blades sit a little bit higher than what they do in your normal hair trimmer. And what that does is it helps cut all the threads and bobbin in mass, so it’s easier to fix those mistakes, pull out the threads and start all over.
Step-by-step guide to removing embroidery with an eraser
You need to remove all these stitches including the main threads that way you have a nice clean garment.
1. Put your garment in the embroidery hoop
The reason why you want to keep it in a hoop is so that it’s taut, that way you’re not damaging the actual fabric. So put it in the hoop.
2. Flip your garment over
When you are using an eraser of any kind, you’re always going to remove embroidery from the back, not the front of the garment. This way you can see where you’re going to be working. This is the underside where the bobbin and threads meet up. So you can see the threads and also the bobbin that’s holding everything in place.
3. Remove the embroidery stitches
You need to cut the stitches and loose threads. So get the eraser into one of the corners and work your way. This is a slow process.
What you’re going to do is you’re always going to run the blade of the stitch eraser in the opposite direction of the stitches that you see. Make sure that your blade is going in the opposite direction. So, you will work on it to loosen the threads and cut them, so that it’s easier to take out.
4. Remove the threads
After working on it a little bit, you can start to see that the front threads are coming loose, and if you just run your finger over it, you’ll be able to see that it’s just releasing off of that fabric.
You’ll see that there are a lot of fibers that you want to clean off. Use a lint brush to remove them and just thoroughly brush and get most of that off.

Tips
1. Don’t put it on a flat surface or a table and start erasing on the flat surface. Hold your garment and put your finger underneath. Use your finger as a pressure gauge with the reaction of the blade onto the stitches.
2. Don’t push too hard because you can with most of these products very quickly go through the stitches, through the stabilizer, and through the fabric and then there’s no hope of saving the item. Gently going back and forth.
3. You really need to be careful that you don’t start pressing hard because you don’t want to cut through the fabric.
4. With your stitch eraser you’re usually going in the direction opposite the stitches.
Method 2. How to remove embroidery using a razor
If you want to remove embroidery from fabric, but you don’t have a stitch eraser, you can use a simple razor. It’s also a good way to remove embroidery from fabric.
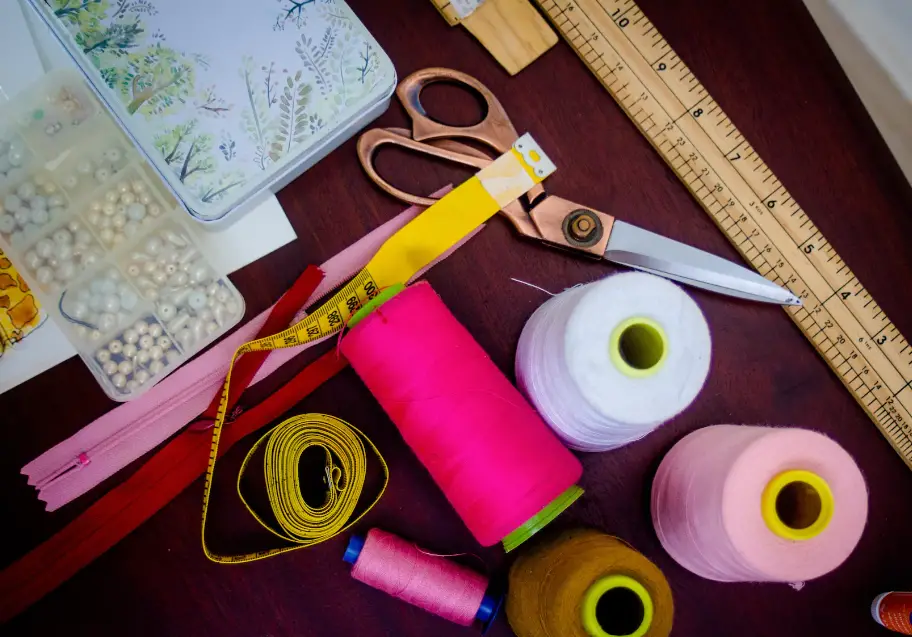
The process works the same whether it’s shirts, coats, jackets, sweaters or other clothing. So, in order to remove embroidery from fabric, you’re going to need a razor, a lint roller (or duct tape) is helpful as is a seam ripper.

1. Turn your item over
Get to the back side of the fabric – just going to turn it in and what you’ll see is what’s called a stabilizer.
To keep from clogging up your razor too much, get all of the stabilizer off that you can and then pick it up from there. You can loosen the stabilizer with your seam ripper. Be careful not to rip into the garment. Once you have most of it, you can go ahead and start working on the embroidery.
2. Remove embroidery
Now the way machine embroidery design works: if you’ve got your right side that is your color that shows, and then on the back side you have your bobbin threads and these are what lock those stitches into place.
Take the razor and you’re just gonna rub it over those stitches and what it’s going to do is it’s going to lose threads. It’s going to cut into those threads and loosen the stitches on the front. This is not a quick process.
Hold it tight and rub it back and forth being really careful that it’s on a flat surface because if it’s not on a flat surface and you’re not holding it down tight, you might accidentally shave into the fabric itself.
The other thing you can do is just go in here with a seam ripper and start to pull it away a little bit.
If you turn to the right side, you’ll see that these threads start to come up. They’re just loosened because the main threads underneath have been broken and they’re no longer being held in place.
Flip it back and repeat the process until all of the threads have been cut and then flip it back over.
3. Remove the stitches from the right side of the fabric
After the embroidery removal process, small pieces of fluff will remain on the fabric, use a lint roller and/or duct tape to remove them.
4. Remove the stitch marks
After removing the embroidery, you may notice that there are some creases and stitch marks on the fabric. Usually, if you wash, dry, and iron your garment, these stitch holes go away.
Method 3. How to remove embroidery using a seam ripper
Let’s talk about how to use a seam ripper to remove embroidery as well as stitches and basically pick up threads. This method works well for removing hand embroidery, but you can also use it to remove machine embroidery. The process is very simple. All you need is a seam ripper and a few extra tools like scissors and lint brush or duct tape etc.
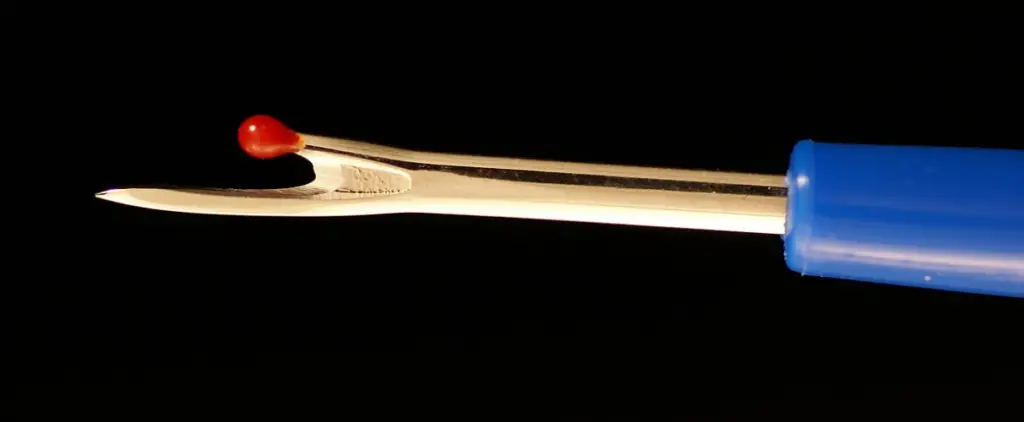
A seam ripper is an embroidery removal tool, it has a point as well as a notch to cut threads. Sometimes a seam ripper comes with a sewing machine.
Use a seam ripper and scissors
Curved small scissors are a perfect tool for removing embroidery. With this pair of scissors, It’s easy to open stitches up, and basically, get rid of the threads and just do a stitch rip with this.
- Turn your fabric or garment over
- Use a seam ripper first to open a stitch up, to pick the stitch. Be careful to avoid damaging the fabric or the item of clothing.
- Then use the root of the curved scissor to cut the stitches.
- Remove the cut threads from the fabric or the item of clothing.
Use a seam ripper and tweezers
- Tear into the embroidery with a seam ripper keeping in mind not to damage the fabric, or the item of clothing underneath.
- Then taking a pair of tweezers, pluck out the tufts of ripped embroidery.
- In the end, just use a lint brush to remove the cut threads.

How to remove embroidery from a hat
With hats, the process of removing embroidery is fairly straightforward.
1. Remove the back stitches first
Cut down the bobbin thread using a seam ripper or other sharp tool like a blade. Then take an eraser and start gently cleaning the embroidery stitches up, making sure you are not putting too much pressure on the hat. Pull out the backing with tweezers and continue to remove stitches with an eraser.
2. Remove the cut threads from the back side
Use a vac or lint roller (duck tape) to remove the cut threads.
3. Remove embroidery from the front side of the hat
Turn the hat face down and pull the stitches with tweezers, and the threads will come off, they should be easy to remove.
4. Remove the cut threads from the front side
Use a vac or lint roller (duck tape) to remove the cut threads.
Using a sharp item in embroidery
One thing about using a blade just like every other sharp item in embroidery such as your scissors your needles, make sure you’re always careful, you don’t have any kids playing around.
Conclusion
How to remove embroidery from fabric? There are several ways to remove embroidery, each of which we discussed in more detail above. No matter which embroidery removal method or tools you use, the process itself has the same principles:
- No matter what stitch type or tool, always release the bobbin thread first.
- For running stitches and satin stitches a seam ripper works well.
- Work from the reverse side of the embroidery releasing the main thread, then turn to the right side and lift the stitches out of the fabric.
- The precision knife is well suited for satin stitches when the main stitches are well-defined.
- Turn upside down, slice through the main thread and then use tweezers to lift the top thread from the front.
- For fill stitches, some people use a disposable razor to shave the main thread.
- For removing fill stitches or large embroidery areas nothing beats a stitch eraser. It looks like a personal groomer but the teeth are more widely spaced. To cut threads effectively, just apply gentle pressure keeping your fingers beneath the fabric. Gently shave the main stitches, and then turn to the front, and the top thread is easily lifted away.
- Packing tape or carpet tape can make short work of removing small threads that are stuck in the fabric.
I hope this article on how to remove embroidery from fabric or any garment was useful to you. Thank you so much for reading!
Read also: How to embroider with a sewing machine: Start it right now!
Will removing embroidery leave holes?
When you get the stitches out, you might see some little stitch holes in the fabric, but if you just sprinkle them with a little water, it’s going to relax the fabric when it dries, and everything’s gonna go back just like it was.
Can name embroidery be removed?
Yes, you can use one of the above methods in this article to do this. This is a really simple process.
How do you remove an embroidered name from a shirt?
Removing an embroidery name or monogram from a shirt is very easy. All you need is a pair of pointed scissors.
1. Turn your t-shirt over to the back, don’t try to do it from the front because you’ll probably have a much harder time.
2. Take the scissors. On the back of your t-shirt you’ll see that there is a thread that goes back and forth. Use scissors and go right up the center and just clip those threads all the way around.
3. Then when you turn your t-shirt back over and when you grab hold of threads it’ll just pull right out.
4. Do that for the whole entire monogram or embroidered name.
5. Once you get all that taken away you might have some little needle marks in your t-shirt where the old monogram or embroidery was depending on the fabric of your t-shirt. Usually, if you wash your t-shirt it’ll fluff up your fibers and those will go away usually. Your job is done!

Hi everyone and welcome to my blog!
My name is Liz, and I started sewing when my son was born. First I repaired the holes in children’s pants, then I dared to do more challenging projects like sewing home decor and children’s clothing. Now it is my hobby where I come to rest, let my creativity run wild, and create things that please me and enhance my home.
I would love to help other sewing beginners and enthusiasts through my blog by sharing tips and tricks for this great hobby.
