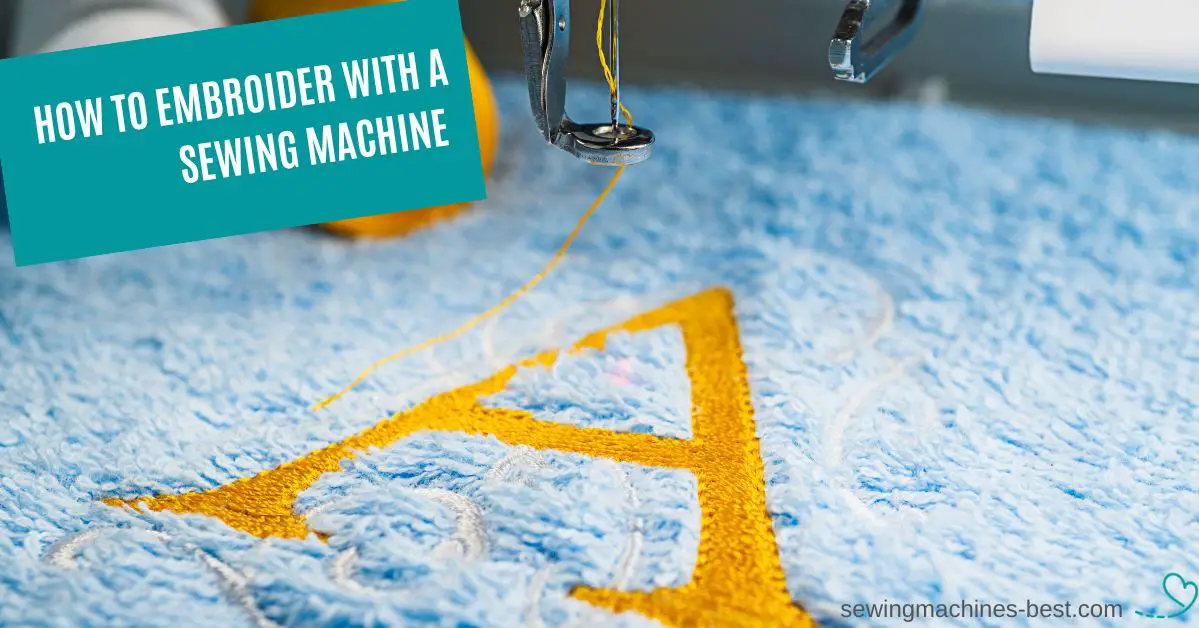
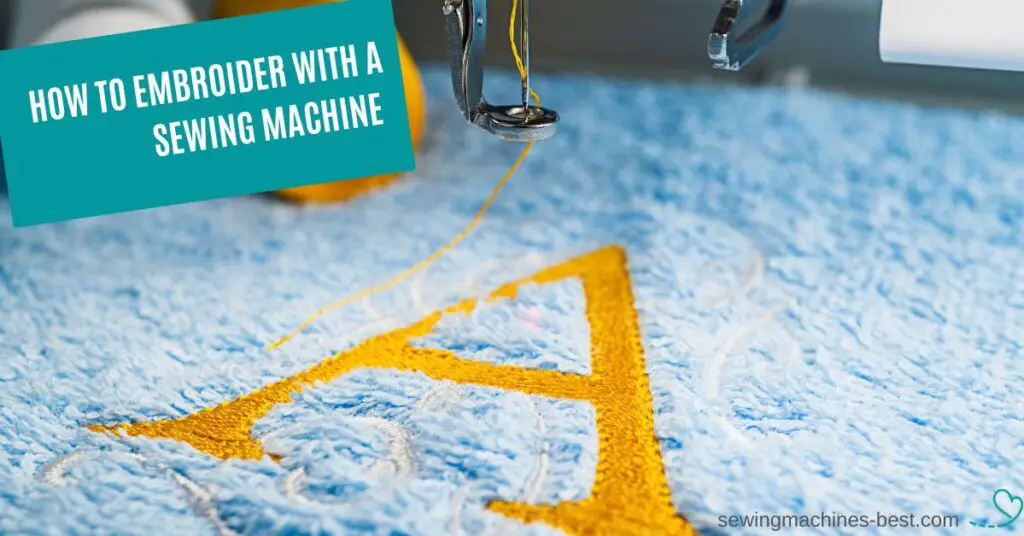
Are you a creative person and looking for some stylish features in your design? If so, have you ever thought about embroidery patterns to decorate your home?
A good idea is to get a fancy embroidery machine, that can create lots of stylish patterns and decors for your home textiles. But these machines are expensive and not so easy to allow. If so, what other machine can you use to get started on the embroidery?
In this article, we will share the best tips on how to embroider with a sewing machine.
Contents
How to embroider with a sewing machine
Suppose you wish to try machine embroidery, but all these luxurious embroidery machines are too expensive for you. You can opt for hand embroidery, which is cool, but very time-consuming. You still need something special to speed up the process. So, can you do embroidery on a normal sewing machine?
Of course, there is no need to buy a luxurious embroidery machine. You can easily do it with a regular sewing machine! Imagine that you can create many fancy patterns, letters, and even pictures on the textile without any extra devices. Doesn’t it sound great?
Some sewing machines have extra computer features for the machine embroidery. It can help you to create different stitches on the fabric.
Many extra stitch options are available in different sewing machines. All that you require is to learn more about these smart functions of your sewing machine. Just a bit of practice, and you can start your best embroidery project!
Is embroidery hard with a machine? When talking about different embroidery patterns, such as letters and pictures, it may sound a bit scary and sophisticated. How can all these work on a regular sewing machine?
Don’t panic! This task is much easier than you think. If you are afraid of some exhausting work involved in machine embroidery, that is a big mistake. You can do it even on the basic sewing machine, as it includes several stitching options. Explore the possibilities of your sewing machine, and you will be excited!
What tools and equipment do you need?
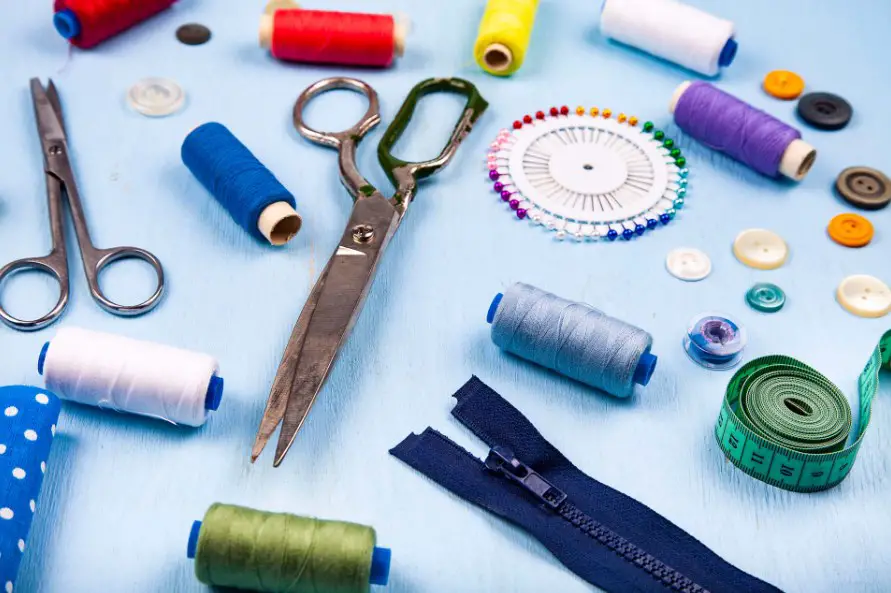
For your embroidery project, you should have a few extra items. All of them are available and not expensive at all.
Basic items:
- Good sewing machine
- Right needle
- Fabric
- Threads
- Scissors
- Medium-weight tear-away stabilizers
Optional items:
- Embroidery thread
- Free-motion foot
- Embroidery hoop
All these items are optional if you wish to have them. Use embroidery thread for a more decorative look to your design. A free-motion foot helps you to lift and lower along with the needle. An embroidery hoop is a disputable element, as some people like to handle the fabric with it, while others hate this extra hindrance while working.
How does embroidery work on a sewing machine?
Let’s take a closer look at how embroidery works on the sewing machine.
1. Play around with the available decorative stitches
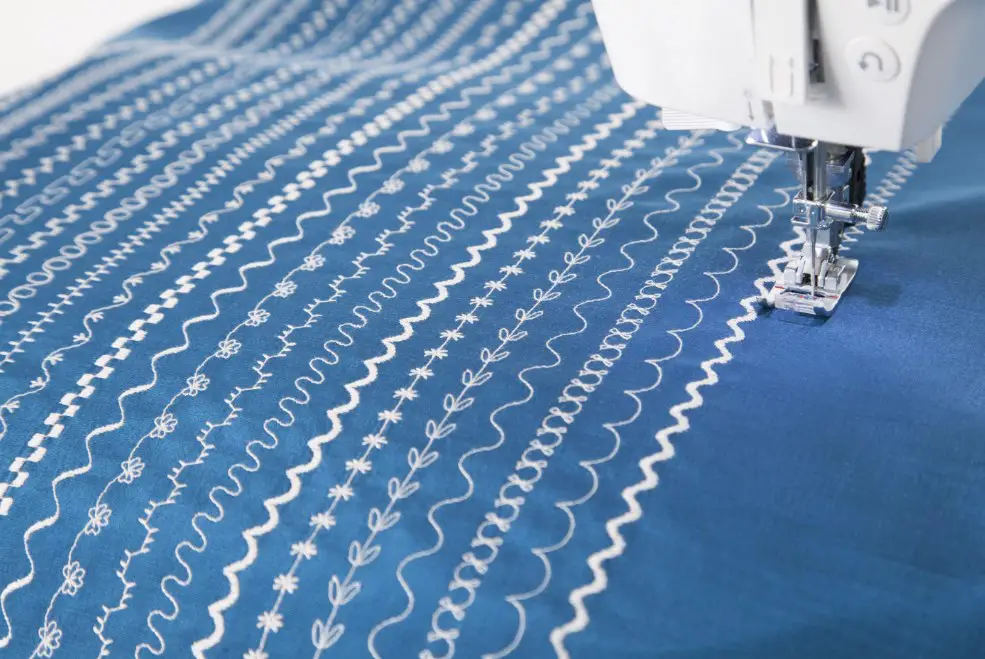
The easiest way to get started is to try the decorative stitch patterns of your multi-stitch sewing machine. Any regular sewing machine has at least a zigzag stitch, along with some others.
Start with a zigzag stitch, as it is both a decorative and bordering stitch for some types of fabric. Then, try other decorative stitches in your sewing machine, that serve for decorating the borders and edges.
The only drawback is that you can make nothing but a straight stitch. These are good for framing and bordering, but not for any other shapes.
2. Try free-motion embroidery
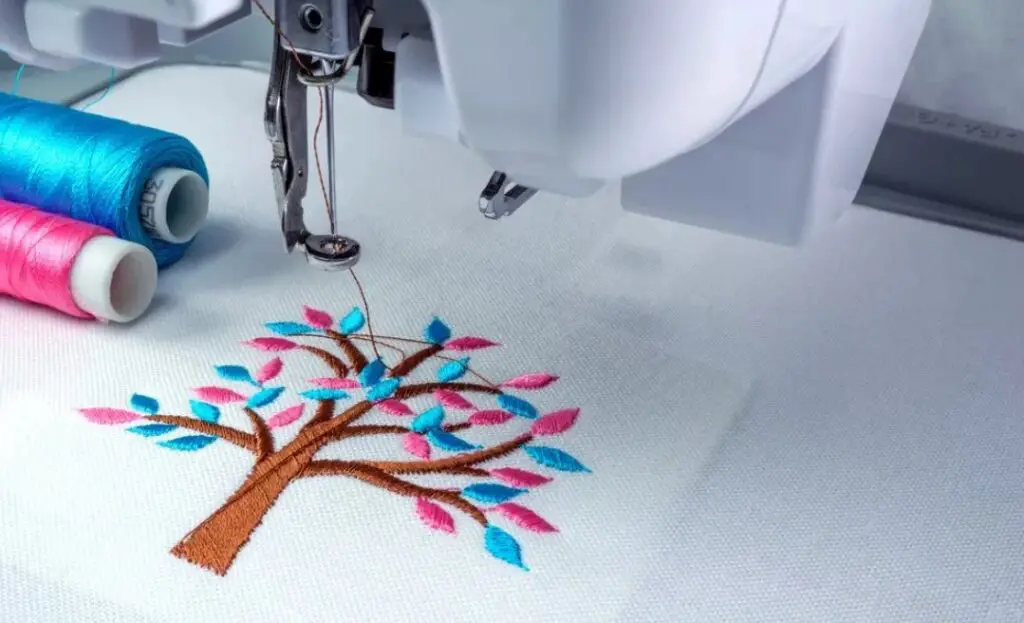
When you fill a design onto the fabric, a good idea is to do free-motion embroidery. It works the same way as the embroidery machines.
For this type of embroidery, adjust the upper thread and bobbin thread tension. Make sure that your sewing machine has a pedal. One more way to regulate the bobbin tension is to loosen or tighten the screw on the outside of the metal bobbin case. This works best for older sewing machines.
As for the regular sewing machine which has an electric operation, make sure it is operated properly. Try it at any speed to check if there are no jerking motions. These issues can cause uneven results.
3. Deal with the designs
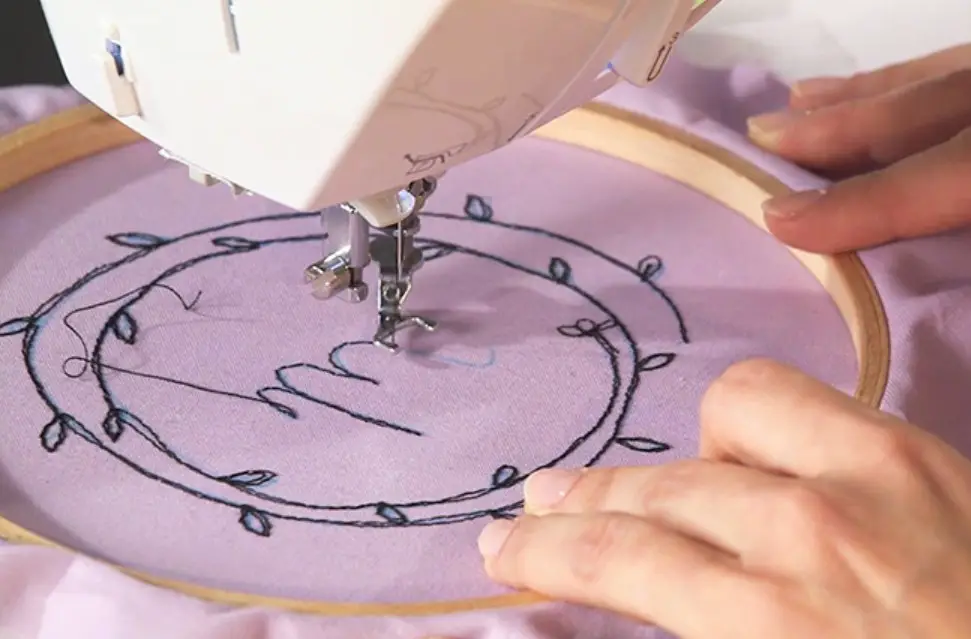
Draw or copy your embroidery design on the fabric. When the required fields are marked on the fabric, it is easier to fill them in. If you use the embroidery hoop, keep the proper part of the fabric with it.
You may use adhesive stabilizers or water-soluble paper for embroidering your designs. When they are done, you can gently delete the stabilizer or dissolve the paper in the water.
Use an embroidery thread if you want to make your designs look more decorative.

4. Remove the presser foot
As for embroidering, you don’t need the presser foot. Remove it or use a darning foot or a special embroidery foot instead.
5. Lower the feed dogs
Keep in mind that the feed dogs can grip the fabric in the process. Lower the feed dogs to avoid this issue.
6. Adjust the tension
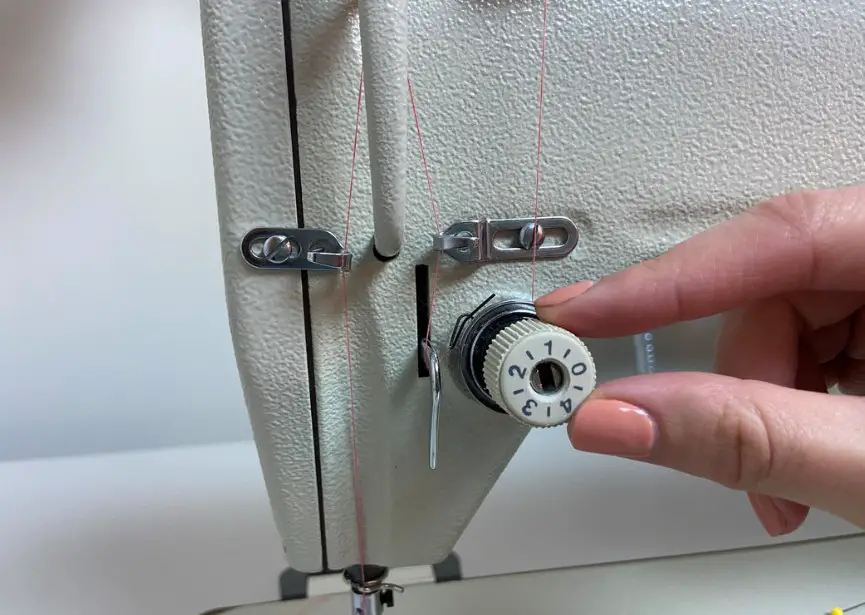
For better sewing machine embroidery, you need to adjust the tension of the upper thread and the lower thread in your sewing machine. Any regular sewing machine has hand wheels to regulate the right tension. Keep in mind that you have to loosen the top thread tension, as it is essential for machine embroidery.
7. Choose the right needle
If you sew, you know for sure that you need a proper needle for the thickness of the chosen fabric. The same is with embroidery; depending on the fabric you choose, install the correct needle in your sewing machine that fits its thickness.
8. Regulate stitch length
A regular sewing machine allows you to regulate how long should be your stitches. In general, the right stitch length turns to 0 for a tight zigzag stitch and regular 2 for a straight stitch.
9. Start stitching
Before you start, make sure that your sewing machine is set up correctly. Keep the fabric rightly on the needle plate, the hooped area must be under the needle. If you use an embroidery hoop, keep it tight, and don’t forget to stretch the fabric straight and proportionately.
Now, start stitching. Make some small stitches in the same place. Don’t move the fabric at all! Then, cut away the extra thread, and proceed with embroidering your design on the sewing machine.
While embroidering, move the hooped fabric as you need to fill in the whole design. Outline first, and then fill it in with the even stitches.
How do you embroider letters on a regular sewing machine?
1. Start with a template
Choose the embroidery template. Search for the stylish designs from online sources, purchase some patterns, or even try to create your tracery!
A key point is to choose a good font if you are going to embroider letters on the fabric. Make sure it is quite thick and will show up properly on the fabric. After you make your choice, copy the template onto a medium-weight tearaway stabilizer.
2. Prepare the base
To start embroidering, you need to settle both the fabric and the template properly. Add a stabilizer to the back of the chosen fabric. Make sure there are no frays and the edges are clean. You can use either single-sided or double-sided stabilizers, as both of them are available.
Then, take the template and attach it securely to the fabric. For the double-sided stabilizer for the template, secure it with the built-in adhesive. If you use the single-sided stabilizer, attach it with a spray adhesive onto the fabric. If you don’t have any adhesives, just pin the paper down.
3. Stitch with the edges
Let’s start sewing! A good idea is to use the hand wheel instead of the pedal. Turn this wheel slowly to pierce the fabric. Then, lift the needle and bring up the lower bobbin thread. Start with a few stitches in the same place. It can help you to lock the threads and protect them from unraveling. When you are done, cut away the extra thread.
Continue to sew by the chosen template. Work slowly around the first letter edges. Then, move the fabric and follow the outlines of the letters before you fill in them.
4. Keep the hoop in the place
If you use an embroidery hoop, it is important to watch it while embroidering. Hold the hoop when filling in the letter. Turn and move the hoop when you need to follow the template and complete the pattern. Do it slowly to make the stitches evenly spaced on the fabric within the chosen pattern.
5. Be careful with the fabric
Don’t pull the fabric while embroidering, as you are used to doing when sewing on the machine. Never do it with the letters, as you can make uneven and crooked stitches. Move the fabric slowly and evenly to get the best results.
After you fill in the whole pattern, raise the needle again. Pull the thread gently and cut it. A bit of backstitching can help you to get the loose threads to the backside. Then, tie the threads off and trim the excessive length with sharp scissors.
6. Remove the paper
Remove the stabilizer paper that you used to hold the template. If you use tear-away paper, tear it gently around the stitches so as not to destroy them. The cutaway paper can be cut with small scissors, just avoid snipping any of the threads.
If you use an embroidery hoop, remove it as well. Now, you are good to go. Straighten your item and iron it as needed.
What about any extra tips?
- Start with a small and easy design. For the first time, you can stitch in a line. You need a lot of simpler practice before you can move further and embroider the bigger and greater projects. When using a design, avoid many curves and sophisticated details. The simpler is your first design, the better is for you to practice it.
- Use embroidery thread to make the stitches in your embroidery design much neater. You can use a regular sewing thread instead, but remember it is a bit thicker. So, the projects that are made with an embroidery thread look much better, thinner, and smoother. Test the first stitches until you choose the perfect stitch size for your design.
- Sew slowly and evenly. Avoid harsh and sudden moves when you embroider the design.
- Use straight stitches to make your design look better.
- Use an embroidery needle. You can work with your regular machine’s needles, but the embroidery needles will upgrade your projects.
- To find more original ideas for your designs, look for some popular posts online. Find a website that shares many smart ideas on how to decorate your clothes, pillows, towels, blankets, or other items with unique and stylish designs.
- Make cool and stylish designs as a border for your decorated item. This is handy to do on the sewing machine.
- A good idea is to create a cut work. For this, make the embroidery outlines on the sewing machine, and then cut out the insides.

Final thoughts
There you have all the essential tips on how to embroider with a regular sewing machine. You can try first something simple, and then upgrade your skills for more complicated tasks. Opt for the right tools, items, and fabrics to make your project more successful.
We hope this article helps you to start a new hobby. There is no need to buy an embroidery machine, as modern sewing machines can help you much with your embroidery projects. Happy stitching!
Read also: 17 Different Types of Sewing Machines and Their Uses

Hi everyone and welcome to my blog!
My name is Liz, and I started sewing when my son was born. First I repaired the holes in children’s pants, then I dared to do more challenging projects like sewing home decor and children’s clothing. Now it is my hobby where I come to rest, let my creativity run wild, and create things that please me and enhance my home.
I would love to help other sewing beginners and enthusiasts through my blog by sharing tips and tricks for this great hobby.
