A sewing machine is a tool that is used in various sewing projects, from simple repairs to complex clothing and accessories. If you are new to sewing, it may be difficult to know where to start. One of the most important things to start with is to understand how a sewing machine works.

In this article, we will take a closer look at the main parts of a sewing machine and what they do.
Sewing machines may look a little different, but nevertheless, most sewing machines are practically the same and have basically the same parts.
Basic Parts of a Sewing Machine
1. Needle

Sewing machine needles are very important to get the best quality stitching for your sewing projects. There are many different types and sizes of needles, as well as many brands to choose from, and the right choice can affect the quality of your stitches.
The size of the sewing needle is determined by the diameter of the shaft and the size of the eye. The diameter of the shaft is measured in millimeters, and the size of the eye is in fractions of an inch. The size of the needle you choose for your project depends on the fabric you use
For light fabrics such as silk or chiffon, it is better for you to use a smaller needle, for example, a size 9 or 10. For heavier fabrics, such as denim or canvas, you will need a larger needle, such as a size 16 or 18. If you are using a thicker thread, you will also need a larger needle to accommodate it.
In addition to the size, the needles also come in different types. The most common types of needles are universal, ball, and sharp. Universal needles are designed to work with various fabrics, ball needles are designed for knitted fabrics, and sharp needles are for woven fabrics.
It is important to change the needle regularly, as a blunt or damaged needle can lead to missing stitches, thread breakage, and other sewing problems. As a rule, you should change the needle every 8-10 hours of sewing or after each project.
By understanding the different types and sizes of needles available, you will be able to choose the right one for your needs and create beautiful, high-quality designs.
2. Bobbin

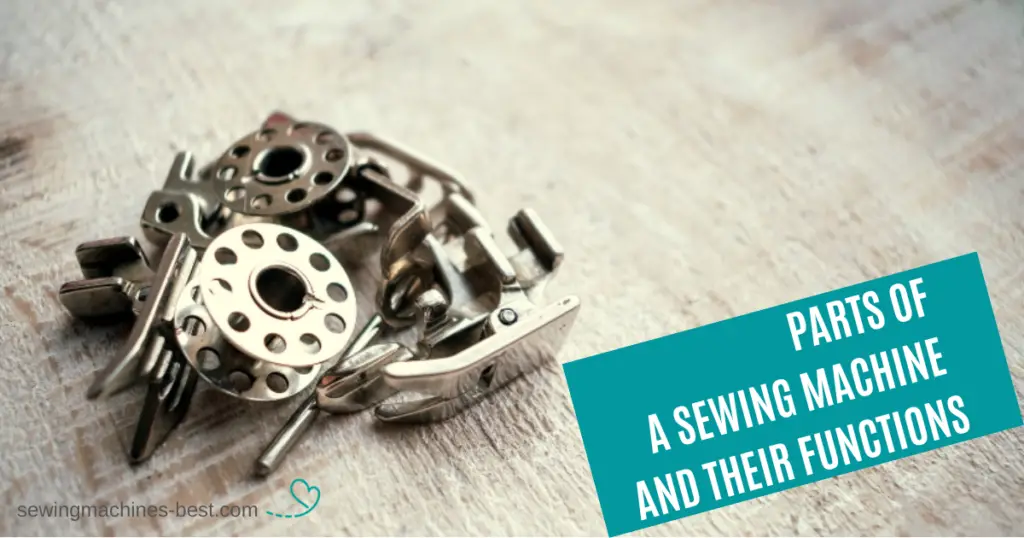
A bobbin is a small spool with threads that is located under the needle plate. It’s responsible for creating the bottom thread, which connects to the top thread to create a stitch. Bobbins can be made of metal or plastic, and they come in a variety of sizes and styles.
Poor-quality sewing machine bobbins can lead to a variety of sewing errors, including missed stitches, poor thread tension, bobbin thread breakage, and many other troubles that we hope you will never encounter.
Since the sewing quality and serviceability of your sewing machine are very important, you need to read your machine’s operating manual to determine the type of bobbin that should be used in your machine.
Using the right bobbin when sewing is very important to get quality stitches for your projects. Very often bobbins of different brands of sewing machines are not interchangeable. If you use the wrong bobbin, you may encounter needle breakage, stray thread, and inconsistent sewing.
3. Feed Dogs

To get a good look at the feed dogs, you can remove the presser foot, a little attachment, and a sewing needle.
Feed dogs have metal teeth, they are located on a needle bar under the presser foot. When the sewing machine is running, the feed dogs start moving back and forth, lightly grabbing the fabric and pushing it back, and it does the opposite when you push the reverse.
There are times when your feed dogs will need to be lowered, for example, if you’re going to like to sew on a button with your sewing machine or any other situation when you don’t want your fabric to move. Since every sewing machine is different, read your owner’s manual and see how you do it.
4. Presser foot

The presser foot is an integral part of the sewing machine. It holds the fabric in place while sewing.
Using the presser foot is quite simple – all you have to do is slip the fabric under it. On the back of most sewing machines, you’ll find a presser foot lever that controls the presser foot. By moving this lever up and down, you can easily observe how the presser foot moves in response.
When you’re ready to start sewing, simply insert the fabric as usual and lower the presser foot. As soon as you do this, press down the foot pedal and the sewing machine will start working. When the machine is moving, the presser foot will exert pressure on the fabric, which will then be guided by the feet dogs.
It’s important to keep in mind that there are several different types of presser feet that you can use with your sewing machine, and most of them are included with the machine when you purchase it.
In your owner’s manual, you can go over what each of these presser feet does since each of them has a different purpose.
To remove the presser foot, you push the button on the back of the presser foot and you can see how it dropped. Some sewing machines pop off and you just pop it right off (like a singer sewing machine has that still), but many others have a small lever at the back that releases it.
To put it on, place it up directly under the shaft of the presser foot holder. It’s attached to the shaft, so you line it up because that’s what it attaches to. Attach this little bar right there to the clamp, and it just rests down on it, and then it is attached so it just snaps right on.
5. Shank

Shank is a little bar that the presser foot is actually attached to. The shank is behind the needle. The presser foot is attached to the little attachment, which, in turn, is attached to the shank with a small screw.
If you want to remove this screw, you do it with a miniature screwdriver that comes with your sewing machine, and you use it, and you just release it. Don’t take the screw out, you don’t need to, you just release it.
Then you lift the shaft up, and this whole piece comes out and you can see that this is that button we were talking about earlier and it releases the presser foot.
To attach it, you lift the lever up to get the shaft up, then you lower it down until it’s resting – all the way down, and then take the screwdriver and tighten this little screw and you want it snug.
6. Bobbin Winder

Normally bobbin winder is up, in the top right hand corner of your machine and it does exactly what it’s called and that it winds the thread onto the bobbin.
7. Spool Holder

The bobbin winder is a spool holder and this holds the spool of thread in place and a little cap holds it down onto the spool so that it doesn’t go flying off.
8. Needle clamp

The needle clamp takes the needle in place. It consists of a screw and a needle holder. The needle is placed in the holder, which is fixed with a screw. Before using the sewing machine, make sure that you have secured the needle well in the needle clip.
9. Needle plate

This is a metal plate, it is located under the needle and covers the area where the bobbin is located. The needle plate helps guide and hold the fabric while sewing. It has a small hole through which the needle passes.
Some sewing machines have markings on the needle plate to determine seam allowances.
10. Foot Pedal

The foot pedal regulates the speed of the sewing machine. When you press the pedal, it causes the arrow to move up and down. If you press the pedal harder, you sew faster. When you release the pedal, the machine stops sewing.
The pedal allows you to adjust the speed of the machine with your foot, leaving your hands free to direct the fabric.
11. Thread Guide

So there’s another thing and it’s called a thread guide and it’s when you take your thread and it guides you through two threads in your sewing machine. These are thread guides: a dotted line and a straight line. The dotted line is showing you how to thread to load your bobbin, and the solid line is showing you how to thread your sewing machine.
Every sewing machine is different so you will need to read your owner’s manual and get instructions on how to load and how to thread your sewing machine.
If you’re just starting out learning about your sewing machine, it’s very important for you to know how to thread your particular sewing machine. So, it would be a good idea for you to practice running through that several times so you can do it.
It is important for you to practice so try doing that half a dozen times and just you know get to practice until you know for sure how to thread your machine.
12. Power switch
A power switch is a control on the sewing machine that allows you to turn the machine on and off. It is usually located on the machine body and can be switched to one of two positions: on or off.
The machine is ready for operation when the power switch is in the “on” position. When it is in the “off” position, the machine does not work.
It is necessary to ensure that the machine is turned off when you are not using it to avoid possible emergencies.
Additional Parts of Sewing Machines
Thread Cutter
For a lot of sewing machines it’s going to be common to have this as a small thread cutter and what it does is when you’re done sewing you can take the thread up and cut it.
Back Button
The back button you push to lock your thread at the beginning or end.
Upper thread tension
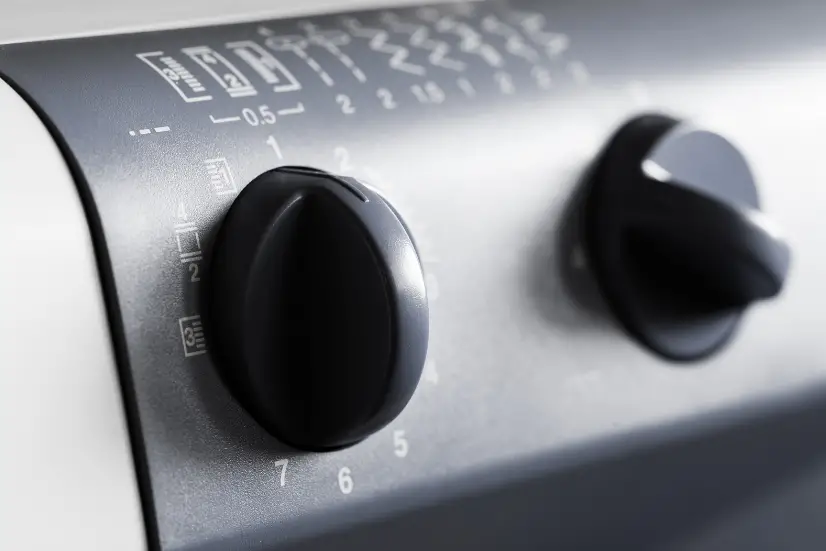
This is a little knob on the top of the sewing machine. Upper thread tension helps you adjust (increase or decrease) the thread tension.
Stitch type

There are different stitches on the sewing machine that you can choose from. There are so many different things you can program any stitch type you need: it’s a straight stitch, zig-zag, and different decorative stitches. You can also set the stitch length and stitch width.
Stitch width dial
The stitch width deal is a control on the sewing machine that allows you to adjust the width of the stitch. The width of the stitch determines the distance between the left and right needle when sewing.
The larger the stitch width, the greater the distance between the needles and vice versa. The stitch width dial can be adjusted to different values, depending on what type of stitch is needed.
Stitch length dial

The stitch length dial is a control on the sewing machine that allows you to adjust the stitch length. The length of the stitch determines the distance that the needle passes at each seam.
The longer the stitch length, the greater the distance that the needle passes at each seam. The stitch length dial can be set to different values, depending on what type of stitch is needed for a particular project.
For example, sewing thin fabrics may require a shorter stitch, and sewing thick fabrics may require a longer one.
Zipper Foot

It’s a presser foot that is designed to sew a zipper to a fabric. It has a narrow shape and is installed instead of a conventional presser foot. The zipper feet allow the needle to approach the zipper teeth without touching them.
Zipper feet come in different sizes and shapes, depending on the type of zipper and the sewing machine used.
Manual knob
If your sewing is tangled or jammed or your needle is jammed then sometimes you need to turn the manual knob back and forth a little to loosen up the threads.
Conclusion
A sewing machine is an indispensable tool for creating sewing projects. It’s essential to understand how the sewing machine works and how to use it properly.
It is always recommended to read the manual before using a sewing machine, so you can understand better the functions and you don’t find any problems at the moment of sewing.
We hope this article helped you to better understand the different features of your sewing machine and now you’ll be able to read your owner’s manual and get a better idea of where those features are on your machine.
FAQ‘s
What are the five main parts of the sewing machine?
All details of a sewing machine play a certain role in its work, without them the sewing machine will not be able to work well. Perhaps, as the five basic parts, we can single out those that are responsible for the stitch formation such as spool pin, bobbin winder, bobbin, needle, and feed dogs. They work together and create the stitches.
What are the upper parts of a sewing machine?
It is worth noting here that it depends on the model of the sewing machine. Most machines have in the upper part: a spool pin, a thread guide, tension discs, tension control and take up lever, and there may also be other additional parts.
What is the most important part of a sewing machine?
All parts of a sewing machine are important. But the most important details are the sewing machine needle because it’s responsible for creating the stitches.
A blunt needle can skip stitches or damage the fabric. Other important parts of a sewing machine are the bobbin, the feed dogs, and the presser foot.
Each of these parts plays a crucial role in the sewing process and must be in good working order for the machine to function correctly.
Read also: How To Sew Straight: A Detailed Guide

Hi everyone and welcome to my blog!
My name is Liz, and I started sewing when my son was born. First I repaired the holes in children’s pants, then I dared to do more challenging projects like sewing home decor and children’s clothing. Now it is my hobby where I come to rest, let my creativity run wild, and create things that please me and enhance my home.
I would love to help other sewing beginners and enthusiasts through my blog by sharing tips and tricks for this great hobby.

