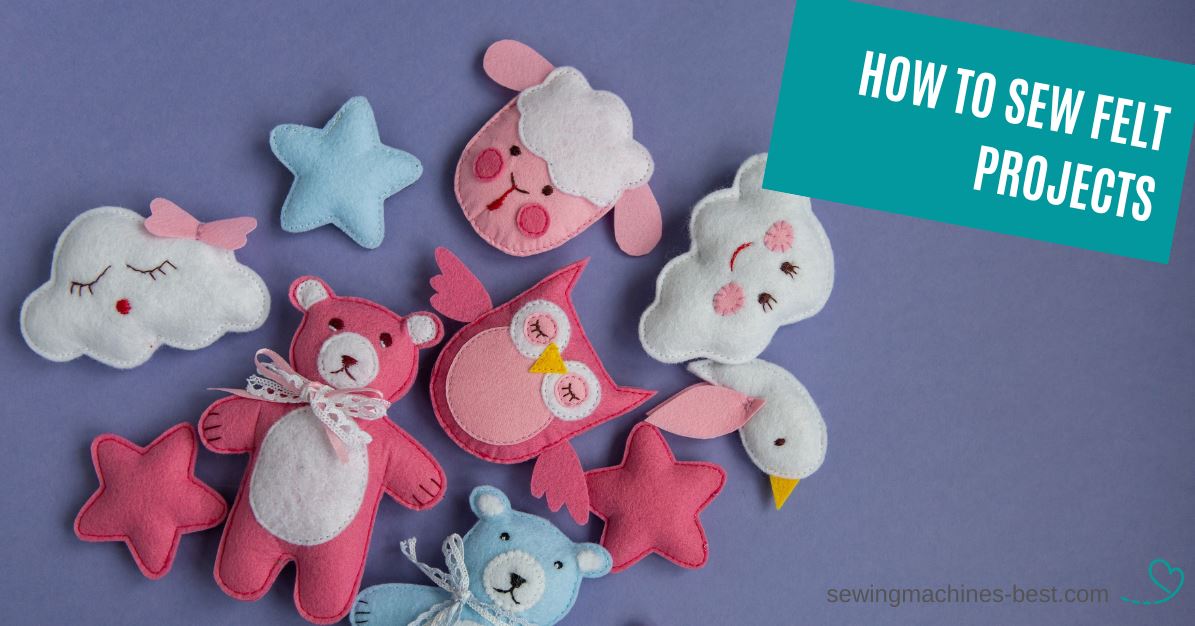
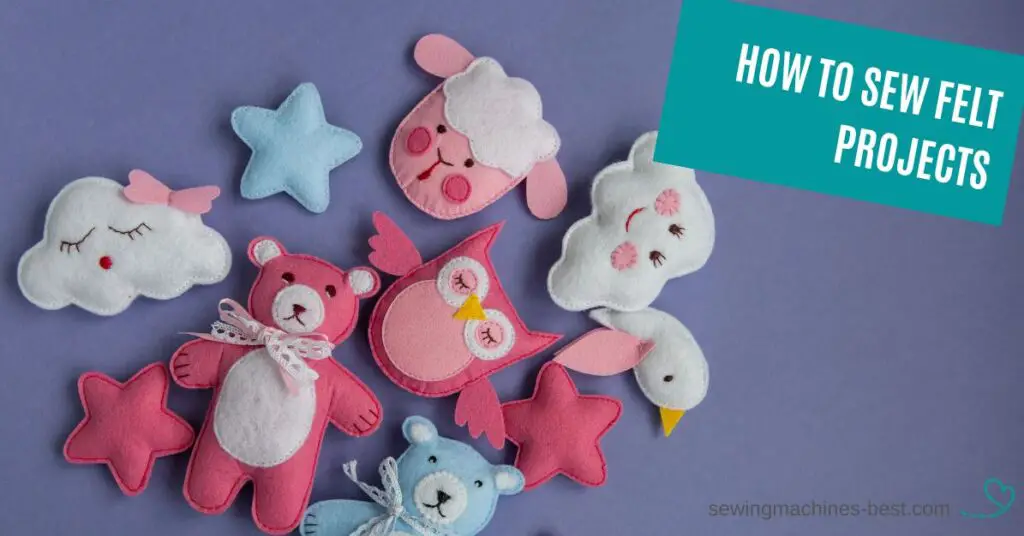
Felt is a unique fabric that has excellent characteristics in operation and sewing. There are many techniques in which you can sew felt for making decor items, felt crafts, handmade gifts, etc. This article is intended for everyone who loves to sew or wants to start learning how to sew felt.
Contents
What is felt?
Felt is a fabric made of wool (of goat or rabbit) or its artificial substitutes. Matted wool gives the fabric a soft texture, while synthetic fibers make it long-lived and more resistant.
Felt has two main kinds – craft felt and wool felt.
Craft felt, or it can be called acrylic felt, is on sale already cut into pieces of 9 x 12 in. Craft felt consists entirely of polyester or acrylic. However, on the other hand, it is a very cheap option that is well suited for making small felt projects.
For example, a felt gift bag or an applique. Moreover, you can purchase acrylic felt in a local haberdashery or any craft supplies shop.
The best quality felt is wool felt. It can be completely wool or, more commonly, wool blends. When sewing wool felt you should obey the instruction of hand washing in cold water to prevent shrinking and pillage. Wool felt is feature-rich and great to use for doll and toy making, for example.
The main features of felt
- Wool felt provides a pleasant tactile sensation;
- No fraying of edges;
- High strength;
- Absence of the wrong side;
- Waterproof and absorbent;
- Sewing felt by hand is possible, as processing it on a sewing machine.
As you probably know, our modern world is suffering from an environmental problem. Therefore, before using felt, you should know that there is also eco-fi felt made from recycled plastic bottles.
How to cut out felt
Before you start working directly with the felt, you need to cut a piece of the fabric to the required size or a certain shape from a piece of the fabric. Just if you need to cut out a certain figure from felt with neat edges, embroidery scissors are suitable for work. It is small pointed scissors. For straight lines, there are rotary cutters.
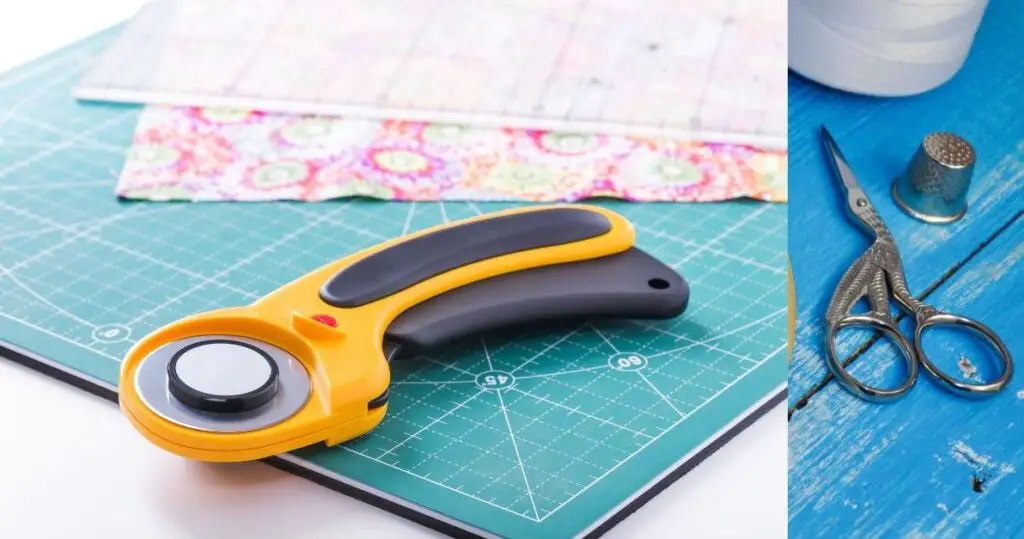
When cutting felt shapes, you can draw the shape you want to cut out or attach a pre-made template. It may be more convenient for you to first make a template out of paper or other material. Also, there is a way of tracing your template onto freezer paper.
Freezer paper is thick special paper, usually used for packing products intended for the freezer, to protect against moisture, but also freezer paper can be operated in sewing for cutting out the felt shape.
You should remember that felt is fabric too. So, fabric scissors are suitable for cutting felt, meanwhile, paper scissors should be kept for paper only. When cutting felt, try not to operate paper scissors!
How to sew felt?
Sewing felt by hand
Hand-sewing felt is an easy task. Many people prefer to sew by hand rather than on a sewing machine.
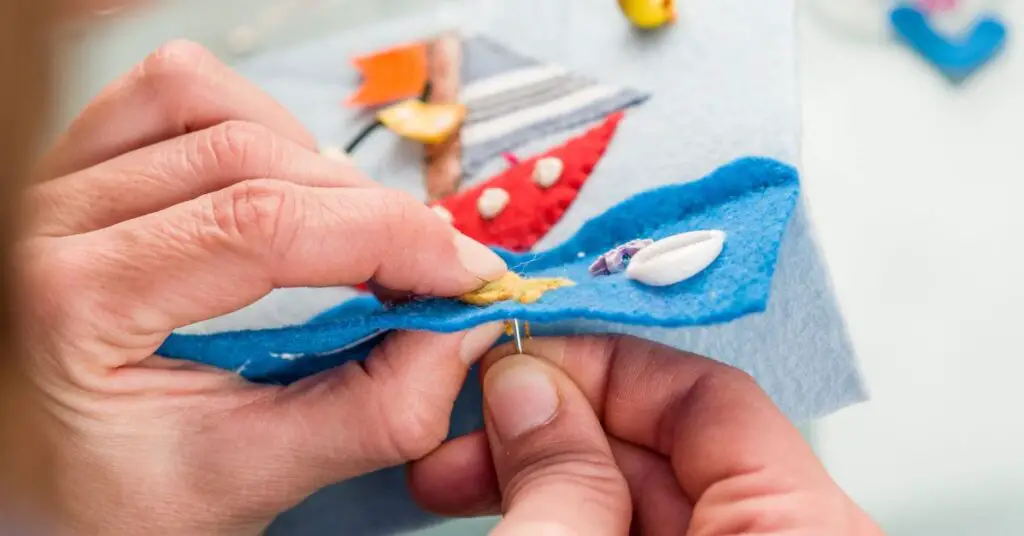
In this case, by sewing by hand, you can sew pieces of fabric, and also process the edges of the fabric, and complete the decor of the felt project with interesting patterns from thread ties. So, your project can become more good-looking and unique.
You can sew basic embroidery stitches, creating some designs for small projects.
The whipstitch – to sew cut with fabric scissors pieces together without adding much bulk. Also, it protects the edges from pulling.
The running stitches, are one of the easiest stitches that can not only interestingly decorate the material but also firmly sew certain parts of the fabric.
The blanket stitch is easy and handy. It is the perfect way to join fabric shapes’ edges together.
The chain stitch is an effective way to link other stitches together or just a standalone decorative stitch for filling and outlining.
The backstitch – in this case, threading occurs relatively often, so we can call it strong.
The blanket stitch applique looks excellent and accurate!
The invisible/ladder stitch, as you can tell from the name, is a stitch that closes seams. It can be invisible or nearly invisible. Anyway, it is a very useful stitch in everyday life.
Of course, you need a needle and sewing thread. When choosing a needle for sewing felt, you should choose a medium-weight hand-sewing needle. If you want a thicker needle then, accordingly, you will have to change the threads to a thicker embroidery floss.
Moreover, when you select a color of thread, we recommend you choose a thread a bit darker than your felt fabric color or a contrasting shade to make the sewing stand out. In this way, you will add style to your work. Either way, sewing is a creative activity through which you can express yourself.
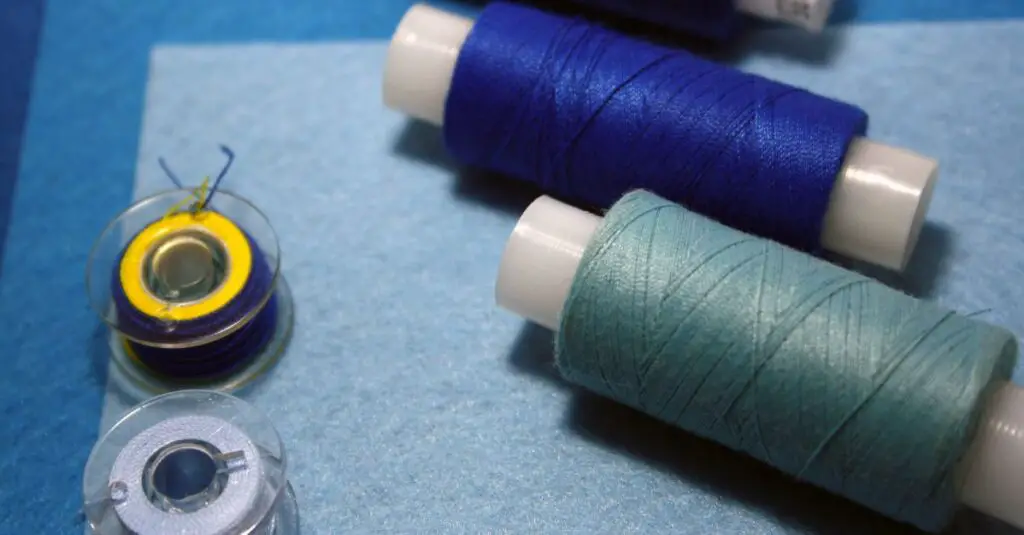
As for the thread, polyester thread is usually used in working with felt. On the other hand, floss is great for making the product more beautiful and elegant.
The embroidery floss is also available in silk or linen, as well as in metallic thread, which adds a sheen to the piece. Therefore, by embroidering with either reinforced polyester thread or floss, you will give the felt product a unique detail that will be a distinctive feature of the product.
Hand sewing tips
When sewing the felt by hand, do not pull the thread too much, or the felt may be deformed! Follow the texture and natural direction of the fabric when working with felt, and keep your hand stitching consistent throughout for the best results.
Blanket stitch is great for joining felt pieces to make softies, Christmas decorations, and home decor.
Sewing felt by machine
As we all know, machine sewing is faster and more comfortable to use. So let’s consider how to sew felt with sewing machines.
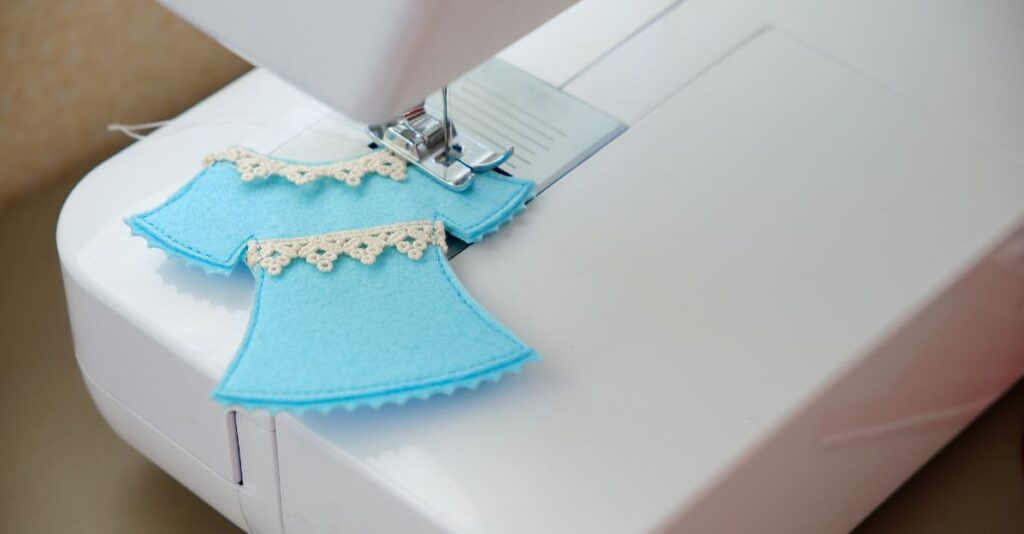
When sewing felt, we first need to set the sewing machine settings regarding the length and shape of the stitch. As for the shape, it may be a straight stitch or a zig-zag stitch.
Speaking about the choice of threads and needles, polyester thread, which is used everywhere, quilting thread or cotton-blend thread may be suitable for your particular felt material. Medium-sized needles (70/10 or 80/12) are perfectly fit for sewing felt.
Stitch length:
- Short straight stitch, size of stitch length is around 2.0;
- Small zig-zag. The length of the zig-zag should be longer than you would use on woven fabrics, as felt does not fray on the edges;
Machine sewing tips
There are many machine sewing hacks. For example, when sewing with thinner felt (craft felt), you might consider double folding the fabric or using a lining fabric to give it more stability.
Sewing two similar pieces of felt can be difficult as they move slightly under the foot.
You can use double-layer felt-shaped pieces or more than two layers of pieces when you intend to increase the durability of your felt projects. While attaching Velcro to one side of the felt this way is very suitable too.
Remember that sewing tension is also important. Do not pull too hard or too fast on the thread you just pulled out. Otherwise, the felt may be deformed. After removing it, place the felt cloth on the work table and flatten it slightly.
So please take your time! Sew slowly, one stitch at a time.
Some ideas for felt projects
For sewing from felt by hand, various small crafts are perfect. Soft material makes such things nice to feel and touch. Maybe you would like to make some small projects such as a bookmark, pincushion, or coaster. Felt sewing projects are good for Christmas decorations, garlands, and gift bags.
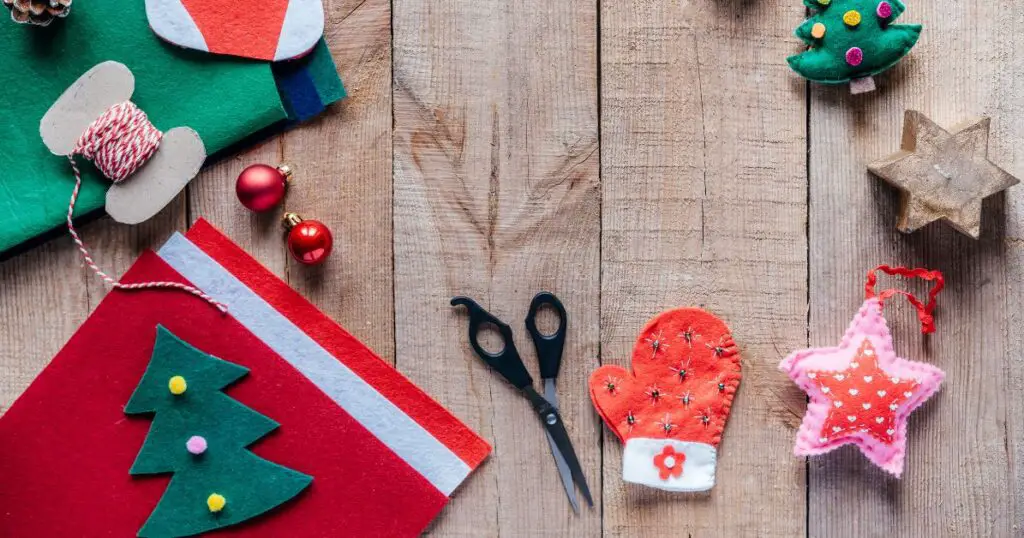
Moreover, you can learn how to sew more difficult projects as sewing puppets or small stuffed animals. It would be a great idea for a handmade gift. Such a sign of attention will certainly be appreciated because we put hard work and love into gifts made with our own hands.
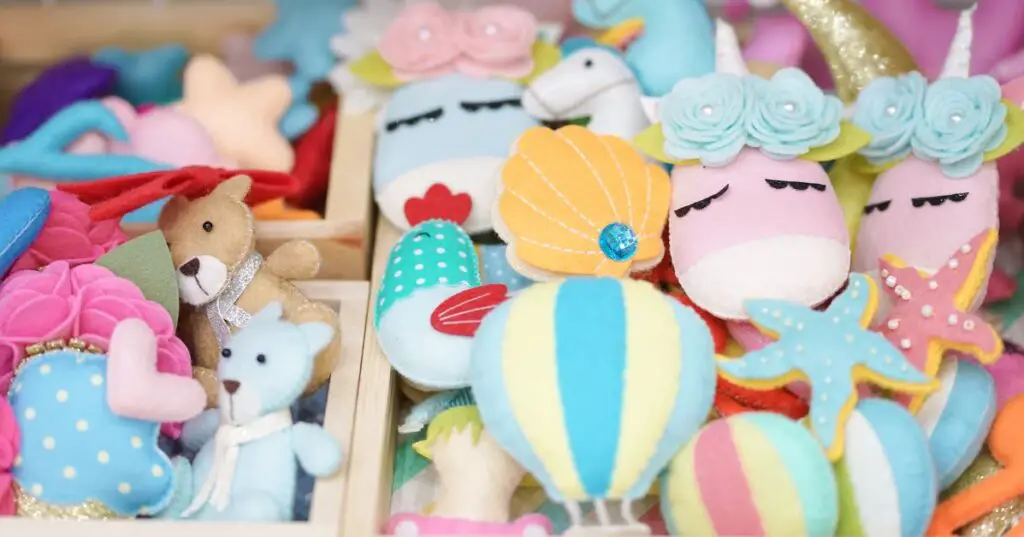
For example, you can make a toy out of soft materials with your hands, let’s say it will be a brown bear in a sweater, on which “I love you” will be embroidery floss thread. Cute, isn’t it?
We are going to give you recommendations!
By the way, if your felt product doesn’t need to be washed, it can be glued instead of sewing some shapes. Use a craft or fabric glue without no sewing methods that dries clear for best results. If you want to clean felt in a dry way, as it does not react with water or even moisture well. An old toothbrush and a sticky roll are great for cleaning.
Please pay attention to the place of storage of felt products.
You should find special cardboard boxes for storage of felt fabric or already hand-made projects. It is not recommended to leave crafts and decor on the windowsill for a long time because the product can deform in another way that spoils it.
Before putting the product in the box, it is worth wrapping it with paper or a piece of other fabric.
In addition, we will tell you not only how to properly store felt, but also how to iron it. Be sure to set your iron to the correct temperature. Acrylic and eco-fi felt can melt at higher temperatures, that’s why you should especially be careful. Don’t forget to cover the felt with a press cloth – a cotton cloth.
Due to these tips, you will not spoil or damage the felt or your iron.
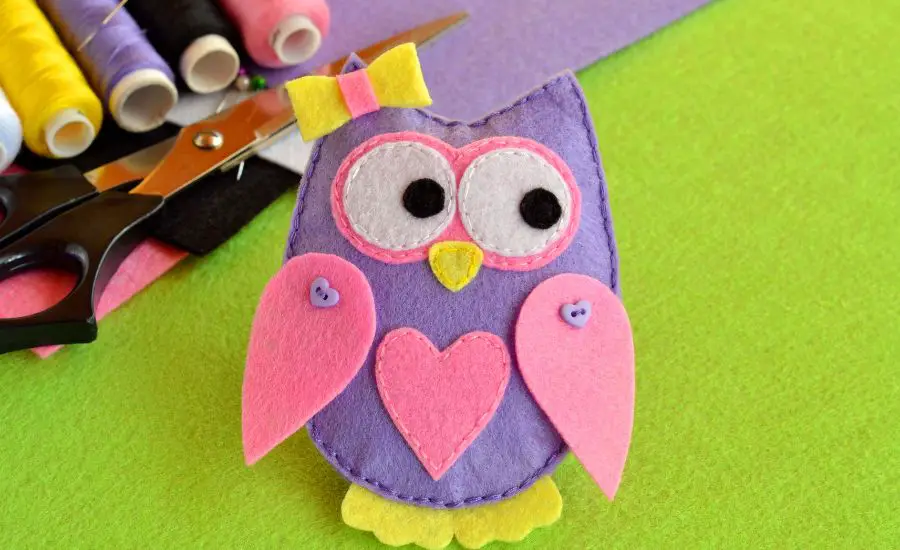
Working with felt without sewing
Working with felt without sewing is easy and versatile. You can use fabric glue or adhesive dots to bond felt pieces together, allowing them to dry for a secure hold.
Pre-cut felt sheets and felt stickers are convenient for quick and colorful decorations. For a more permanent bond, try heat bonding with fusible web or bonding sheets, using an iron to secure layers together.
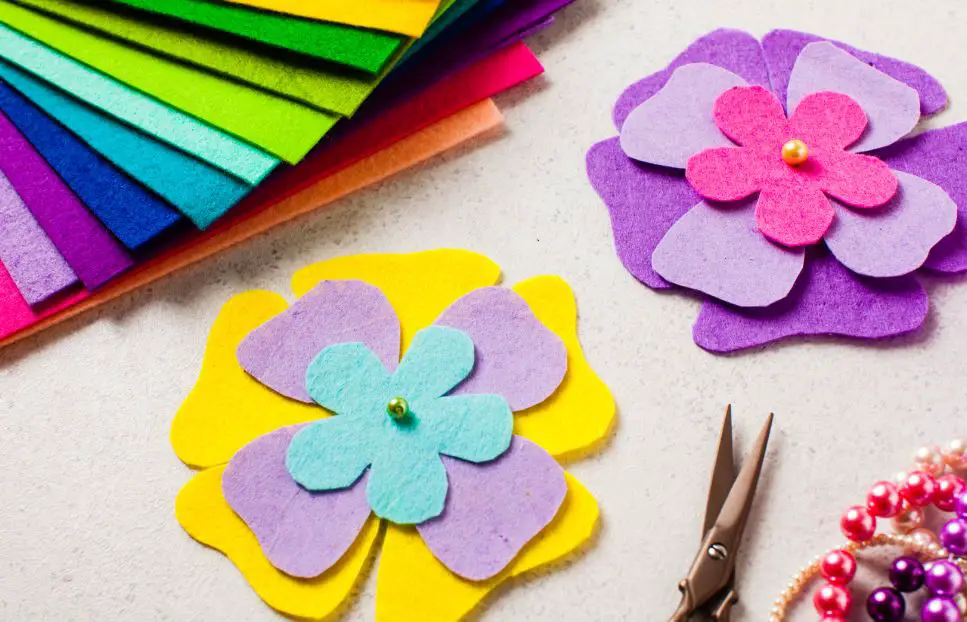
Velcro or hook-and-loop tape can serve as practical closures, while grommets and eyelets are handy for hanging felt creations. These methods open up a world of no-sew felt projects for crafting and decorating.
FAQ’s
When you learn how to sew felt, you can face different questions. So, we can teach you how sewing felt or give you some sewing tips.
What stitch is best for felt?
Generally, absolutely any stitch that we specify in the article can become the best for sewing felt with particular felt material and the correct thread.
Can you sew felt in a sewing machine?
Yes! The straight stitch is usually used for sewing felt. In addition, machine stitching is often even more accurate and faster than hand stitching.
What kind of thread do you use for felt sewing?
In general, it depends on the felt craft you want to create yourself. A polyester thread is an excellent choice for sewing felt projects, but wool felt, or a predominantly wool blend should preferably be stitched using cotton sewing thread, while polyester, polyester-rich blends, and other synthetics should preferably be stitched using polyester thread.
How do you join two pieces of felt together?
It’s high time to talk about the felt double-layer sewing trick! Sewing two equal pieces of felt at the same time may not be easy, but we can learn how to make it easier. For example, the blanket stitch is a very simple stitch to sew, and it is great for joining felt pieces.
Firstly, cut out the shape from felt and place the cut-out piece on a second (bigger) piece of fabric.
Bring the needle through the middle of the 2 layers up to the top. This way, the knot will be concealed between the layers of fabric.
Bring the needle down to the bottom layer and then push it up through the same hole the thread first came through. When pulling it, you could see a loose loop formed.
Put the needle through your fabric layers from the top down a short distance from your first stitch. Where the needle comes out at the bottom, wrap the thread underneath the needle.
Then just continue to sew the blanket stitch.
Also, whip stitch is an easy stitch used in sewing felt, which is used to sew two pieces together. The stitch passes over the edges of pieces of fabric, joining them together. The stitch length should be matching the scale of your project.
Conclusion
In this article, we learned how to sew felt, what sewing thread and needle to use, and how to sew by hand and on a sewing machine. Moreover, by getting a large amount of information about this material, we can correctly make things from felt and take care of them. Sewing felt is a very exciting and enjoyable activity!
We hope this article and the few tips we talked about will help you in sewing felt!

Hi everyone and welcome to my blog!
My name is Liz, and I started sewing when my son was born. First I repaired the holes in children’s pants, then I dared to do more challenging projects like sewing home decor and children’s clothing. Now it is my hobby where I come to rest, let my creativity run wild, and create things that please me and enhance my home.
I would love to help other sewing beginners and enthusiasts through my blog by sharing tips and tricks for this great hobby.
