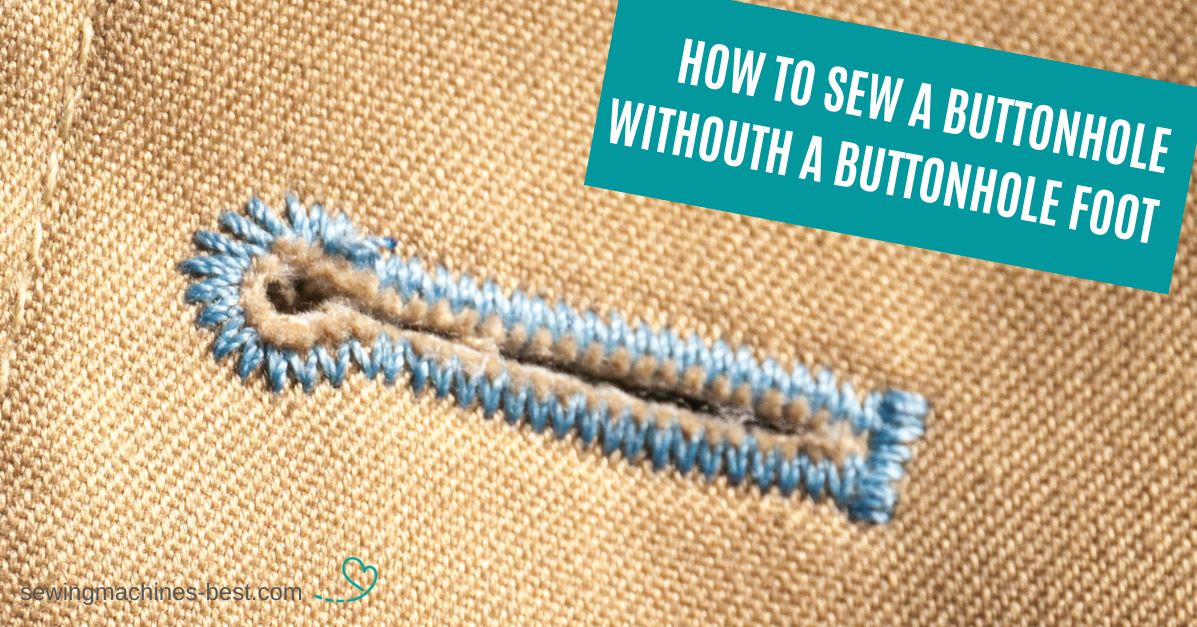
With the help of this article, you will consider how to sew a buttonhole without a buttonhole foot. This sewing guide is especially for those who have just started sewing activity and do not have much experience both in modern sewing technologies and old-fashioned sewing. The full reading of the information given below will teach you how to succeed in getting buttonholes without using a special foot or without any sewing device.
Contents
- 1 How to sew a buttonhole without a buttonhole foot or how to sew a buttonhole manually
- 2 Step 1 – Preparing the required items
- 3 Step 2 – Measuring the size of your button and mark with a line
- 4 Step 3 – Setting the sewing device appropriately
- 5 Step 4 – Picking the buttonhole pattern
- 6 Step 5 – Setting the right stitch length and stitch width
- 7 Step 6 – Adjusting the presser foot and raising readiness to sew buttonholes
- 8 Step 7 – Setting the machine to the bartack step and turning the fabric
- 9 Step 8 – Selecting the side of the buttonhole and sewing it
- 10 How to make buttonhole stitches on an old machine or by hand
- 11 FAQ’s
- 12 Conclusion
Now you will see how to sew a buttonhole without a buttonhole foot. The reason for deciding to sew such kinds of buttonholes is very primitive. Just because several types of sewing machines are not equipped with buttonhole functions.
The machine sews everything if it has special functions for it.
Of course, it is better to use the buttonhole function for the perfect buttonholes, but its absence is not catastrophic. Start sewing now! The process will get easier and the result will be marvelous by practicing making the first effort of stitching. The experience will show that handmade buttonholes are something unique and original.
The uniqueness of everything comes with making it with complete dedication. But there is also a need for essential components such as a needle that will suit your job, a resistant kind of thread, a piece of fabric, a sewing gauge, a comfortable atmosphere, and a little time to yourself to turn ideas into reality.
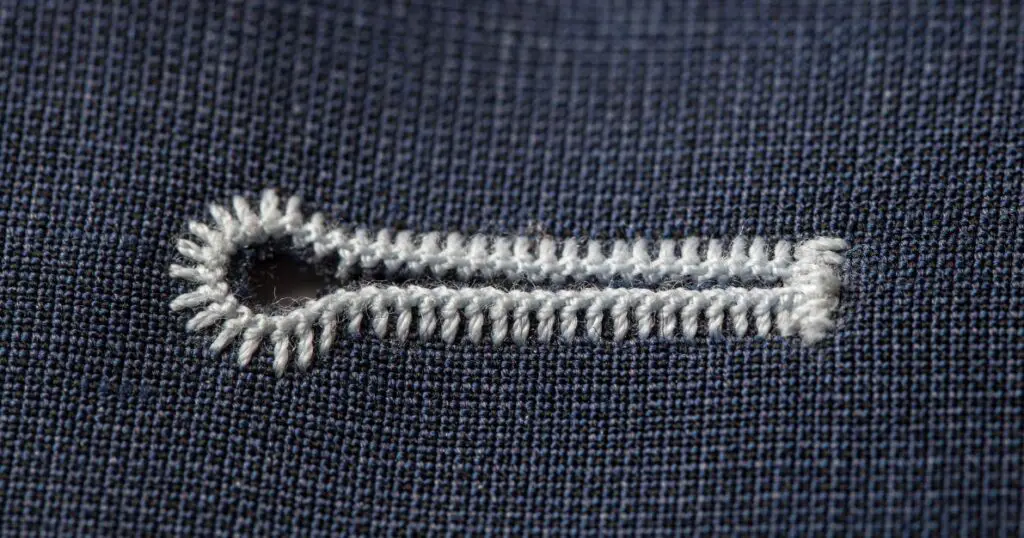
Anyone can afford to sew buttonholes with their own hands or without a special buttonhole foot in a sewing machine. If you wish to achieve the desired result in a set goal, let us learn it step-by-step.
Before starting work, you should consider each point of these instructions for buttonhole sewing without using any automatic buttonhole foot. Moreover, you should remember that there are various models and types of sewing machines! Learn the guidance of your device and go through the standard criteria, as they may differ.
Step 1 – Preparing the required items
The first thing we need is a good old-fashioned zig-zag foot for making a zig-zag stitch. It should have alongside oval opening that resembles the next one:
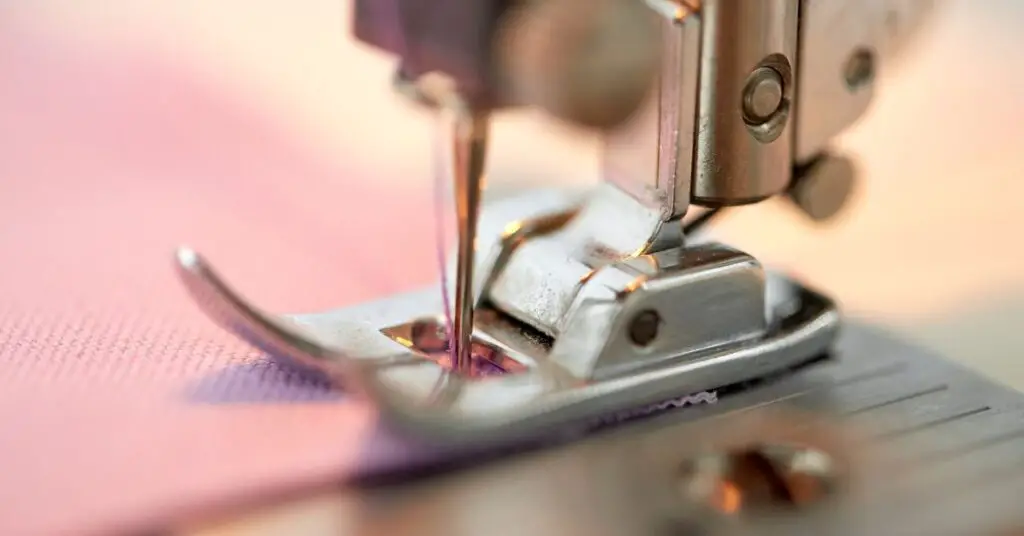
If all the necessary elements for work are listed, then the list will not be long:
- a firm short ruler
- a specially chosen button
- a good pen or chalk for drawing a line
- a sharp pair of scissors
- a sewing gauge
- preferably knit fabrics
The most essential element is the sewing machine, which will be the main helper for the completion of your mission.
A button is going to be a decoration of the shirt, that is why accuracy is a key and measurement is obligatory. This will be the next stage of your job to consider. It shows you the size of your future buttonholes.
When your button is ready-measured, the following task to manage is adding about 1/8th of an inch for ease.
Then comes marking lines top, bottom, and connector or cutting lines perpendicular with the help of a pen or chalk for less visibility.
After that, you should draw two small lines at the beginning and end of the line you have just drawn. Your drawing will look like an uppercase that will be in use while creating your buttonhole. It is a point to start and finish of short stitch length.
Step 3 – Setting the sewing device appropriately
It is required not to forget that there are various types of sewing machines. Some of them are not specialized to make such stitches or absolutely do not have special buttonhole foot. But it does not mean the impossibility of getting buttonholes. In that case, your buttonhole will be unique and manual.
If you begin from a much shorter end, there is significance to putting short dashes in the middle of the presser foot of the sewing machine and then sewing the upward parts of those buttonholes. Determine the most suitable adjustments of the device for sewing to sew along that one half, stopping at another end.
Keep the needle inserted, raise the presser foot, and turn back the fabric so that the contrary part is sewn. After finishing all those chores connected with a buttonhole that is made without the use of a buttonhole foot, you can look at it with your eyes full of excitement.
A sewing machine with straight, zig-zag patterns and over-lock types of stitches may also have several kinds of buttonhole stitches. Anyway, every sewing machine sews a variety of buttonhole patterns. Even some newer sewing machines cannot have the opportunity to work without a special buttonhole foot pedal in comparison with the older machines.
Selecting buttonhole patterns to sew buttonholes is not the easy case as it seems to be. It depends on the model of the sewing machine. Check if your sewing machine has special patterns for buttonholes, or if it doesn’t. The top and bottom patterns should be done with the help of a bar tack stitch, and it can be used as a lightning or zig-zag stitch for side stitches.
Some may even resort to using a stitch selector in a sewing machine because it can be a good assistant in the first stage of buttonhole sewing for the first time. It allows you to choose a suitable one among all available stitches in your device for sewing. It would be much more beneficial in sewing buttonholes effectively.
Step 5 – Setting the right stitch length and stitch width
There is importance in setting a reasonable length and stitch width for the manual buttonhole. You need to set a short length of the stitch. Maybe in your machine exists a special space for matching buttonhole stitches.
Picking the stitch width like a narrow end is also a responsible task because the distance between every zig-zag pattern stitch should be as close as possible to avoid the excess thread. The requirement of setting the serving system to a satin width and length comes if you use a satin stitch.
Constant interfacing to the buttonhole area is very essential. Perhaps the buttonhole turns out puckered without it because of the dense stitching. Dealing with oversized buttons is something different because of the design of the device. You should go through the settings and change some things to be able to deal with large buttonholes.
Adjusting the presser foot of the sewing machine is the next step to slipped stitch. Putting it between different pieces of double-layered fabric is the most reasonable variant.
Now you are ready to start sewing! You should sew the sides of the mark you made and leave the mark itself for cutting. As soon as you found the best buttonhole stitches for your manual buttonhole, start to sew along that one half and stop at another end.
Step 7 – Setting the machine to the bartack step and turning the fabric
The upper and the lower stitches of the two-stitch buttonhole are called bartack. They play the role of the end and the sides of the buttonholes. Practicing to use bartack better leads to professional stitching.
Hold the needle inserted, pick the presser foot up and turn the fabric in order to sew the opposite way.
Then you are to turn your fabric in your machine. Next, you will lower the presser foot on the fabric then raise it, and turn your fabric over the needle so that you are headed in the correct direction and repeat the first stitch steps.
Sewing direction is also an important part to sew a buttonhole, especially if you are doing it without a buttonhole foot. You are to select another side and make the first stitch.
Repeating the step slip one purl and passing on the first slipped stitch over the other will be the next things to do. You should make some notations of the pattern and order in which your buttonhole stitches are sewn. Continue practicing these steps to get the perfect and ideal buttonhole.
The reasonable direction to sew buttonholes plays a key role in getting a good result. Of course, you can practice buttonholes as many as you want to find an appropriate direction.
You should start with the left needle position next to the mark and go upwards to the first corner. Always check out which direction it travels. As already told, you can set your stitch length and width to a satin stitch to complete the second side of your buttonhole.
You need to get the thicker stitch line to break while letting the button in. You can repeat the entire process of stitching with the machine to make it thicker and more graceful. After all the mentioned steps are done, you may look at your manual buttonhole and admire it!
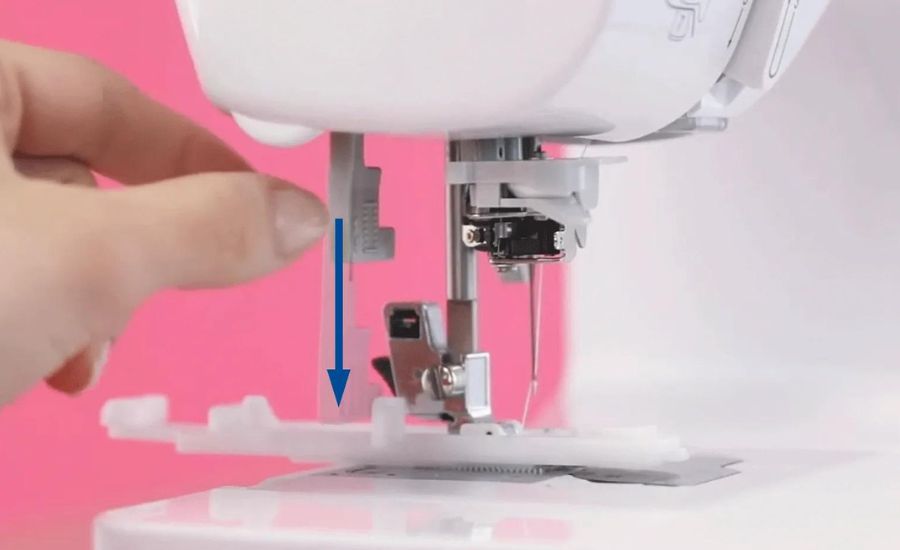
Usually, older machines have buttonhole foot attachments, which make your work a lot easier. But if it does not have any, a regular function is also a good variant. Sew using the machine and observe your work. Those instructions are for those machines that are older and do not come with a special function.
Be sure to set the stitch length to 0 so as to make the right stitch style. The left side goes first then comes back to the bottom and across next, then up the right side, and finally, close the buttonhole box. It is enough to do a few stitches at those end caps.
For the easy accomplishment of the job, there are also maybe some adjustments like a buttonhole sensor to manipulate that to get the job done more easily.
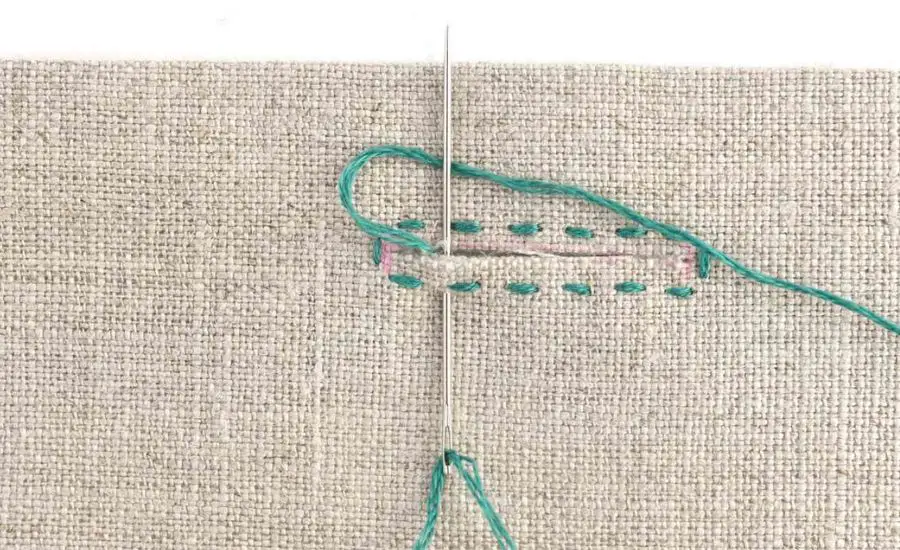
The idea of sewing buttonholes without any machines can be just another way to get the buttonhole done without using a machine. The ready-made buttonhole does not seem to go through an interesting way but it came out of several different stages.
- Gather supplies and measuring
- Decide the number of buttons
- Measure and mark where the holes will be
- Make stitches around the marked line
- Add some iron-on interfacing on the back
- Cut the hole along the line
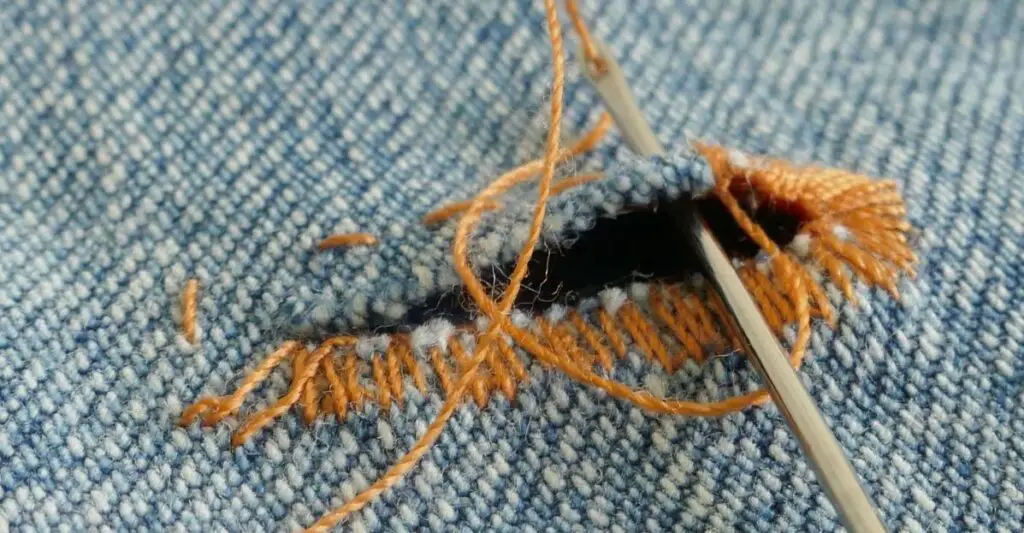
FAQ’s
Anyone can face the problem of sewing a buttonhole without a buttonhole foot in daily life. But it cannot cause one to feel sad because if there is a problem, it comes with a solution too.
Sure, you can! Start with measuring the buttons and marking the lines, then you have to pick the stitch pattern, set the zig-zag presser foot, and begin sewing. Periodically change patterns until all are done.
Do not forget to do some practice buttonholes before doing the real thing, and make sure to test the buttons to see if the hole is the right size. There are two possible reasons for doing this. If, on the one hand, it is necessary to adapt the hands to work with buttonholes, then, on the other hand, it will help to sew more professional buttonholes.
Sewing a buttonhole manually is not as a difficult task as it seems to be. First, I gather all pieces of equipment that will be helpful to complete my work (all types of equipment are mentioned above several times). I measure the buttons and set the distance between them by marking them with short lines. Then make stitches around the line and cut the hole in the center.
Conclusion
Sometimes buttonholes made by hand may be the best way to solve the problem when your sewing machine does not have special functions for making a buttonhole. But if you are not in a hurry, you may leave it to the last, because depending on some conditions, there can be some difficulties.
Anyway, it is better to try than just sit back!

Hi everyone and welcome to my blog!
My name is Liz, and I started sewing when my son was born. First I repaired the holes in children’s pants, then I dared to do more challenging projects like sewing home decor and children’s clothing. Now it is my hobby where I come to rest, let my creativity run wild, and create things that please me and enhance my home.
I would love to help other sewing beginners and enthusiasts through my blog by sharing tips and tricks for this great hobby.
